Why Employee Induction Programs Improve Retention and Productivity
Employee experience begins much earlier than most organizations realize. It starts from the very fi...
READ MOREOur culture is built on open communication, togetherness and equal opportunities. Join a team that celebrates you daily!

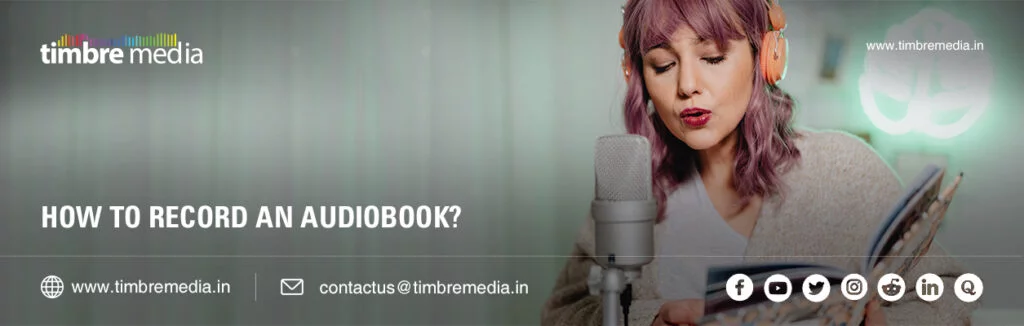
Audiobooks have exploded in popularity over the past few years. People love listening to stories, self-help books, or educational material while commuting, exercising, or just relaxing at home. If you’re an author or creator thinking, “Can I turn my book into an audiobook?” — the answer is yes! And the good news is, you don’t need a professional studio to get started. With some guidance, a bit of equipment, and practice, you can record an audiobook right at home.
Timbre Media, a trusted name in audiobook production, has helped many creators bring their stories to life. Here’s a friendly, practical guide to get you started.
Turning your book into audio is not just trendy — it’s smart. Here’s why:
Once you see these benefits, you’ll understand why recording an audiobook is worth the effort.
You don’t need a professional studio to make a quality audiobook. A quiet room, some basic gear, and careful preparation can do the trick. Here’s what you need for a solid audiobook recording setup:
Even a small, quiet corner of your home can become a recording haven with these basics.
Preparation is key. The more you plan ahead, the smoother your recording sessions will go. Timbre Media emphasizes that even small prep steps can dramatically improve the final result.
With preparation, your audiobook narration will feel natural and confident.
Now comes the fun part: recording. A DIY audiobook recording approach works well if you follow these steps:
Recording at home might take a bit of practice, but patience and persistence pay off.
Recording is just the beginning. Editing and production bring your audiobook to a professional standard.
Timbre Media can help with editing and mastering if you want a fully polished audiobook without the technical headache.
Small habits like these can make a big difference in the final audiobook.
If you want to make your own DIY audiobook, Timbre Media has plenty of resources to guide you. From recording tips to production tricks, following expert advice will help you save time and create a professional-quality audiobook you’ll be proud of.
Recording an audiobook might feel intimidating at first, but it’s completely doable. With a quiet space, the right equipment, preparation, and careful editing, you can produce an audiobook that sounds professional — even from home.
Your voice can bring your words to life, and platforms like Timbre Media make it easier than ever to reach listeners. Whether it’s your first DIY audiobook or your tenth, the key is to start, practice, and enjoy the process.
Your audience is waiting to hear your story — it’s time to press record.


Employee experience begins much earlier than most organizations realize. It starts from the very fi...
READ MORE
Employee engagement looks very different in 2026 than it did just a few years ago. With hybrid work...
READ MORE
Internal communication has always been critical to business success. But today, traditional channel...
READ MORE
In today’s digital-first world, content is often the first interaction a potential customer has w...
READ MORE
Bangalore is home to some of India’s most dynamic businesses, from global enterprises to fast-gr...
READ MORE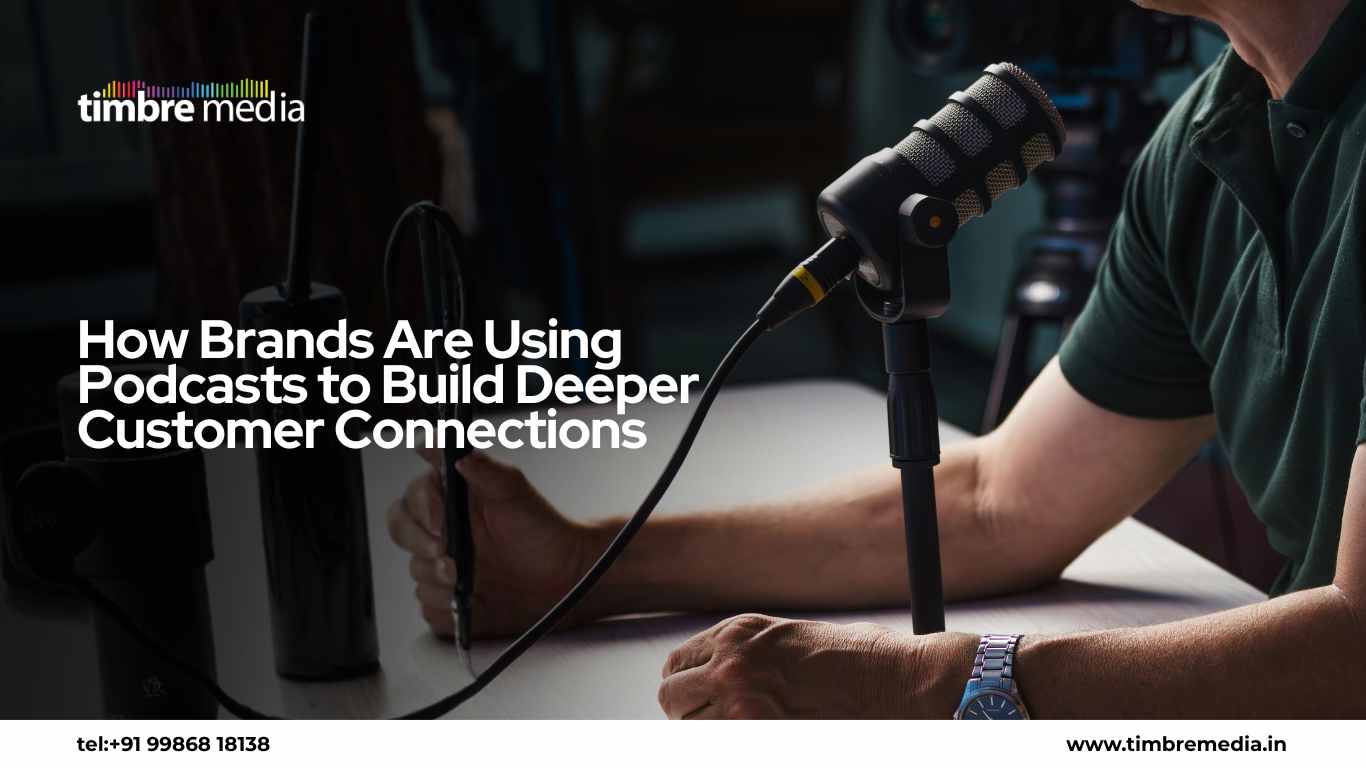
In a world flooded with short-form content and constant notifications, brands are struggling to hol...
READ MORE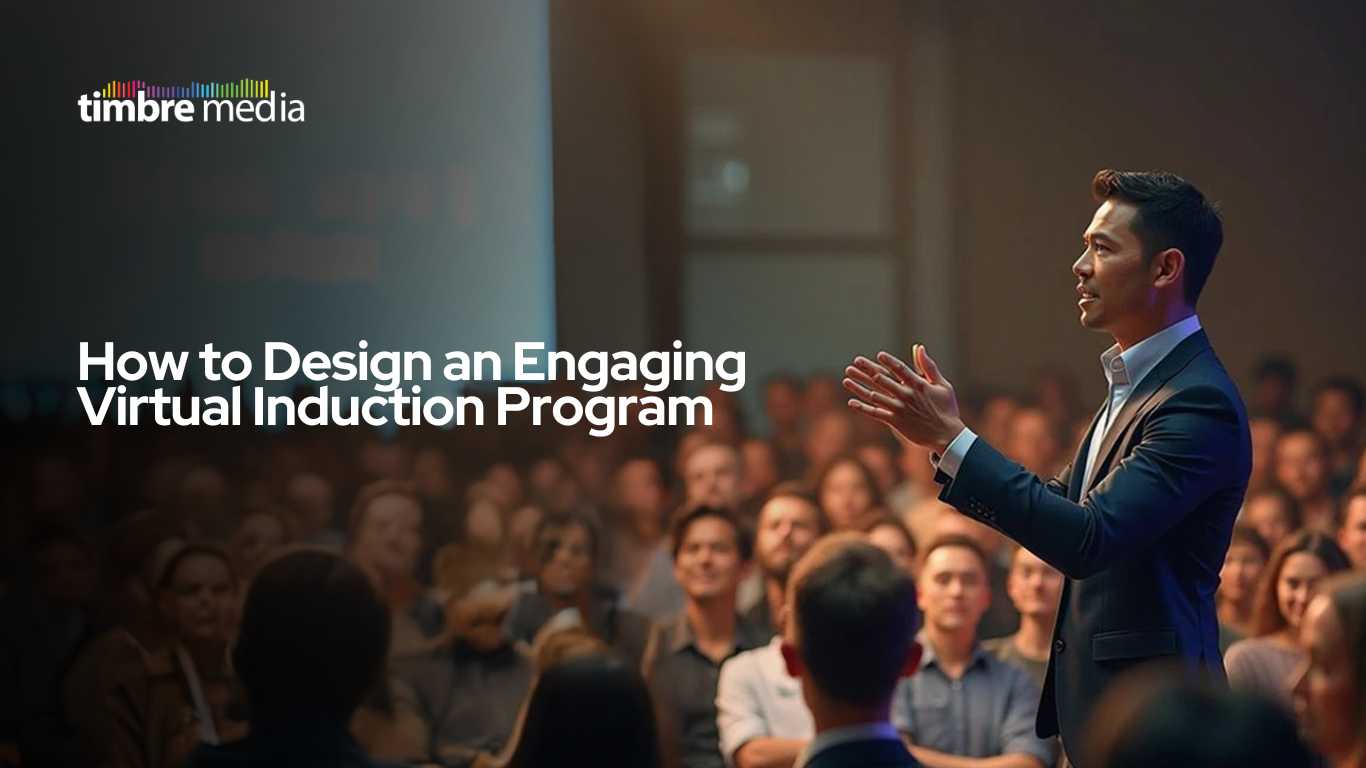
The first few days in a new job shape how employees feel about a company. A thoughtful introduction...
READ MORE
What Is a Corporate Podcast for Employee Engagement?A corporate podcast is an internal audio ch...
READ MORE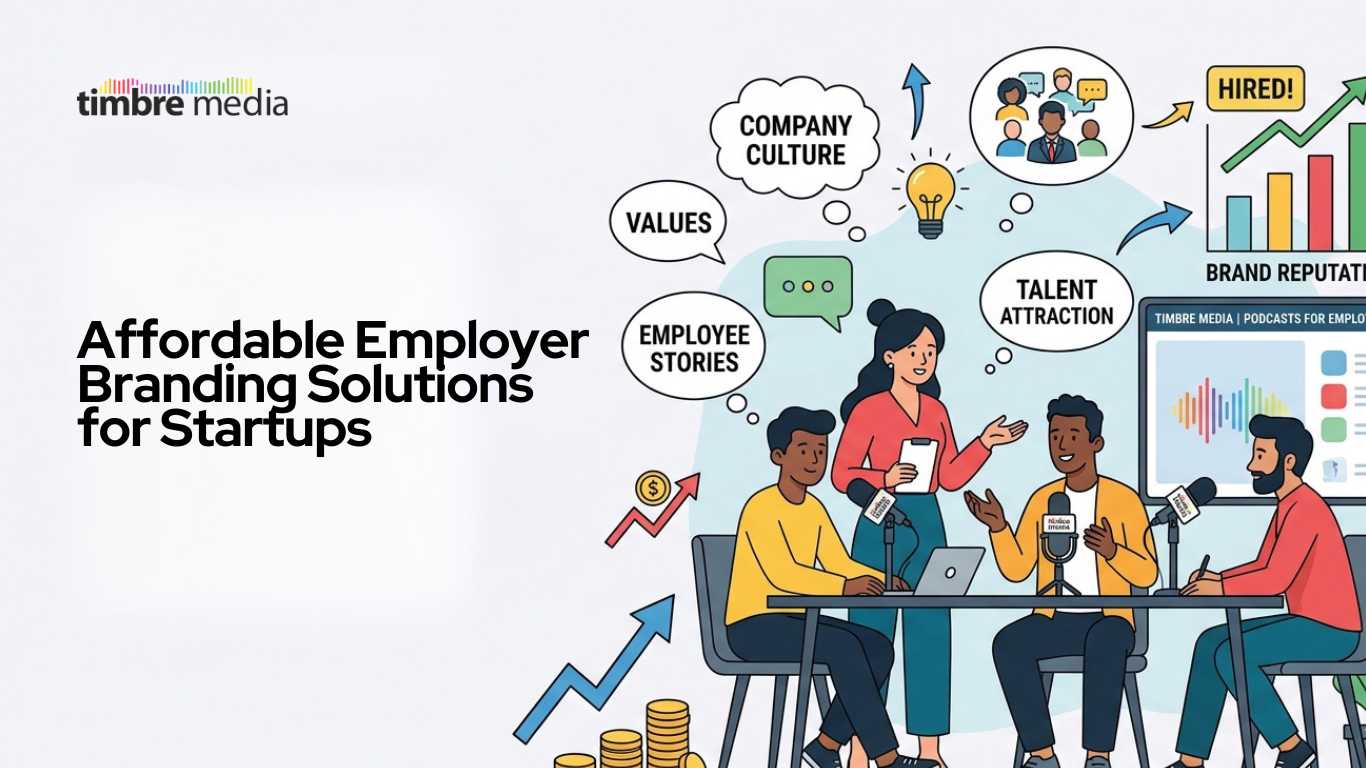
Startups often compete with larger companies for the same talent pool. The challenge is clear:...
READ MORE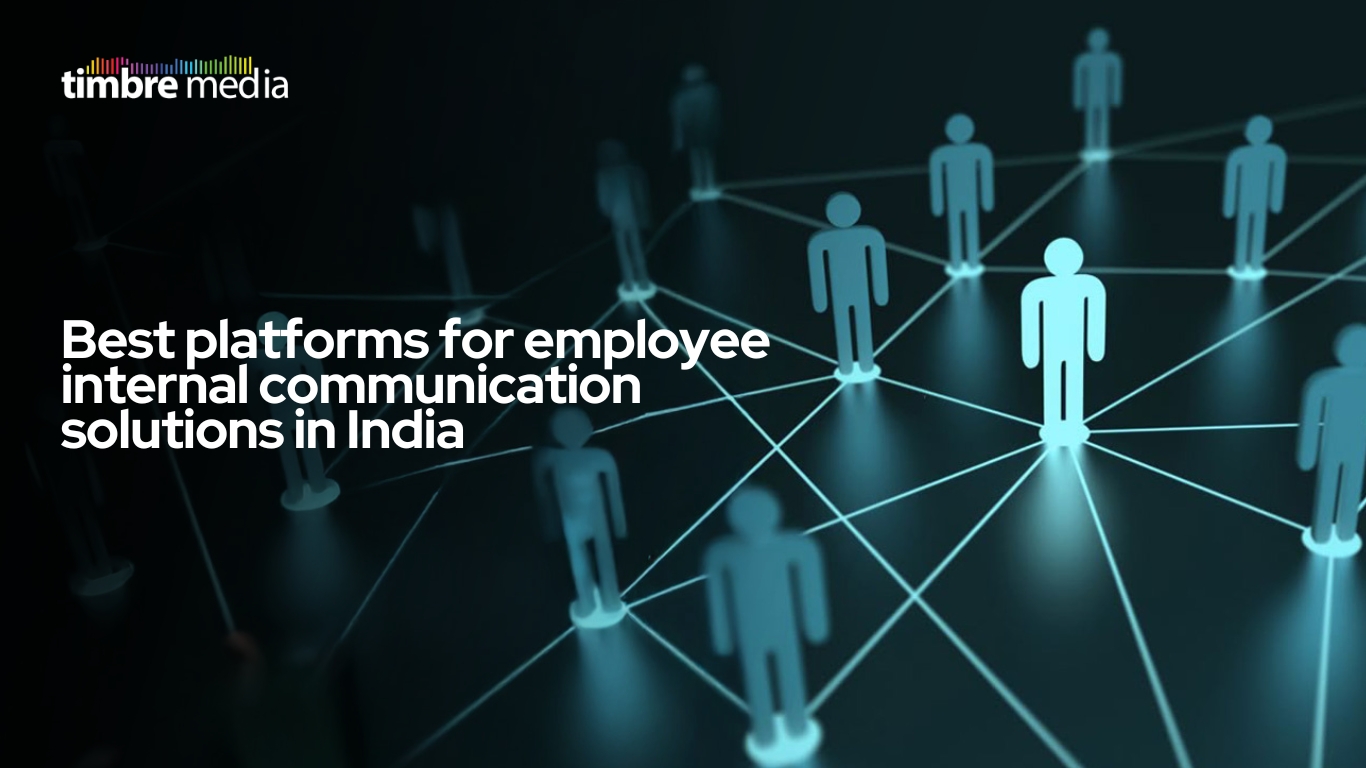
Strong communication inside an organization is just as important as communication with custome...
READ MORE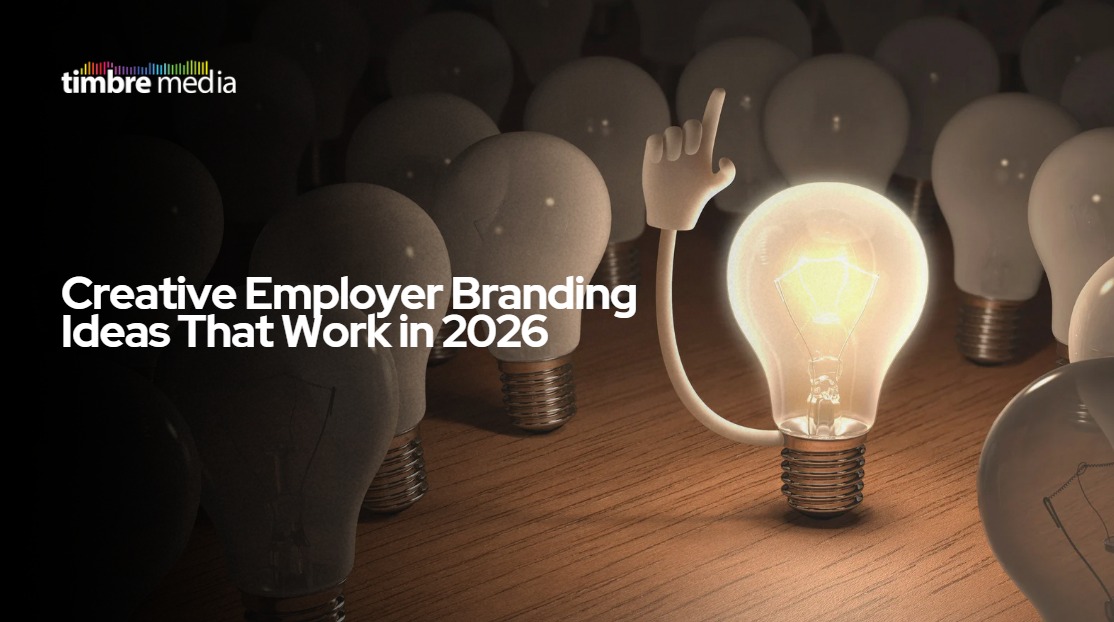
In 2026, employer branding is about creating real human connections between your com...
READ MORE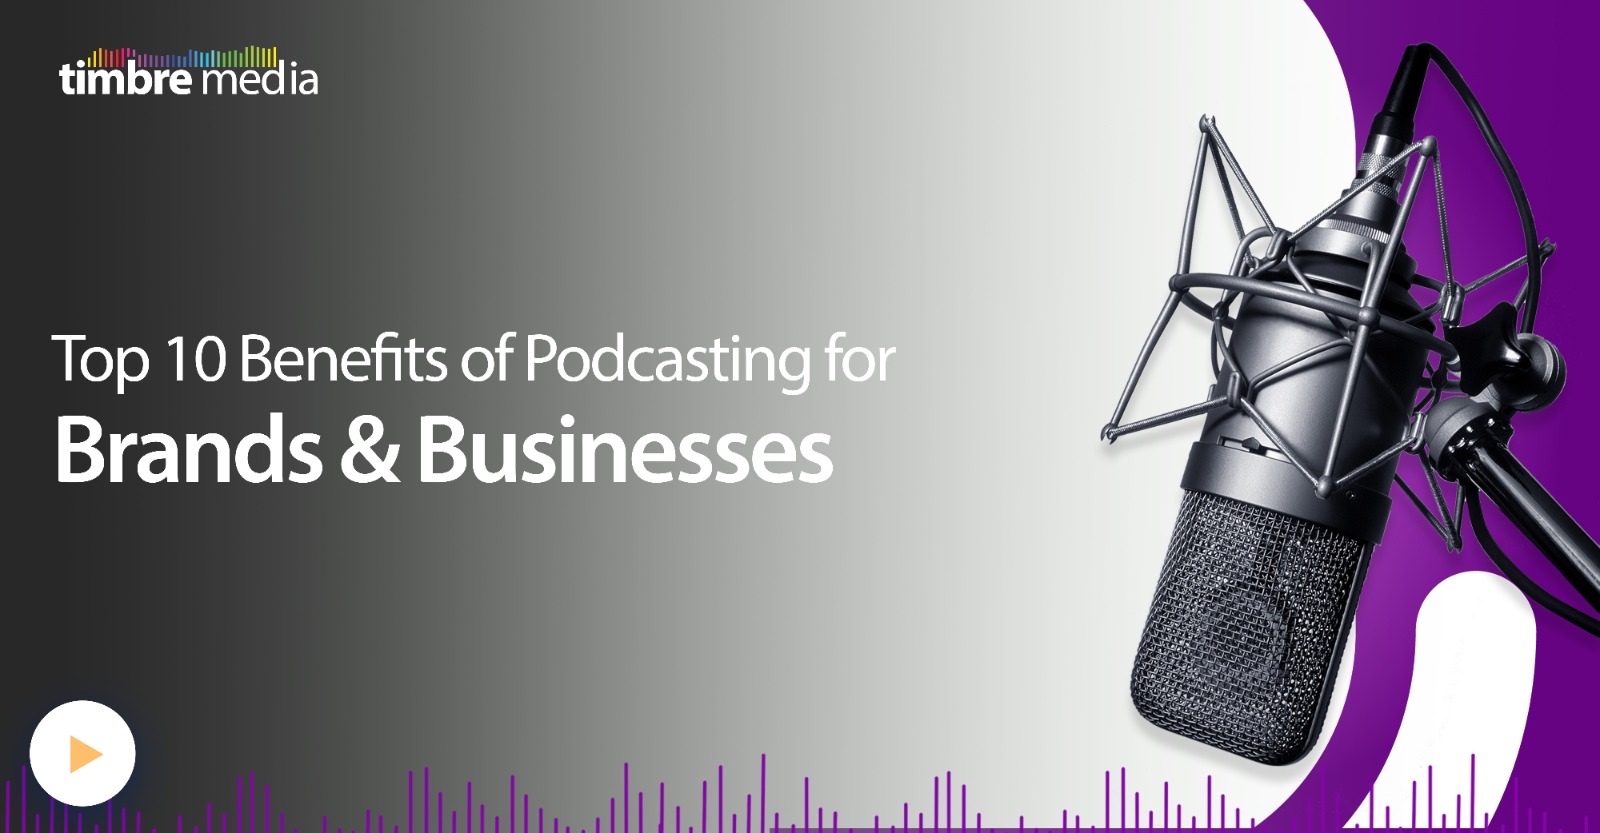
Podcasts aren’t just a trend. Over the past few years, they’ve become a pow...
READ MORE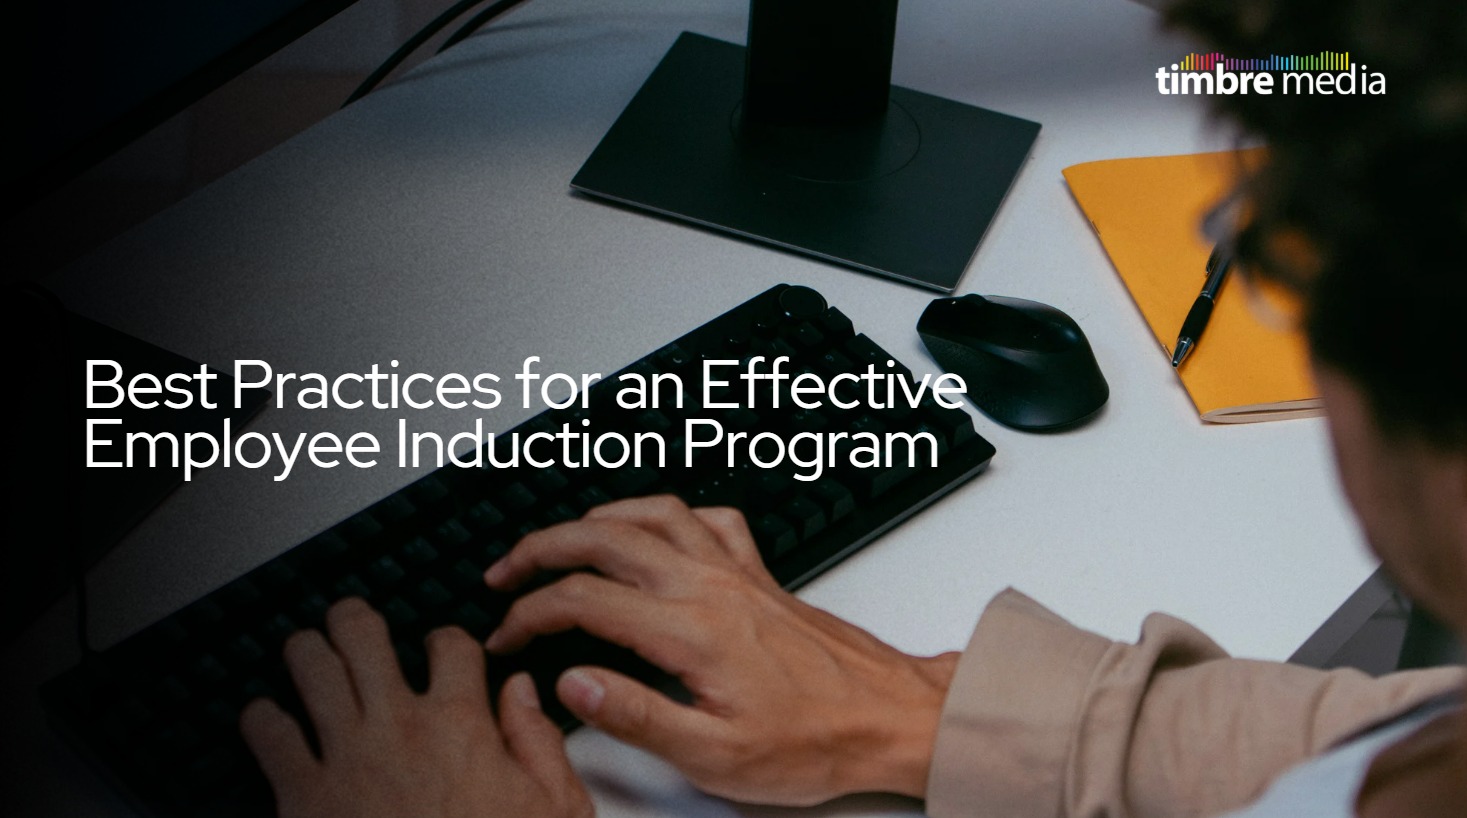
The first few days shape how employees see your company, your culture, and their future with you. A...
READ MORE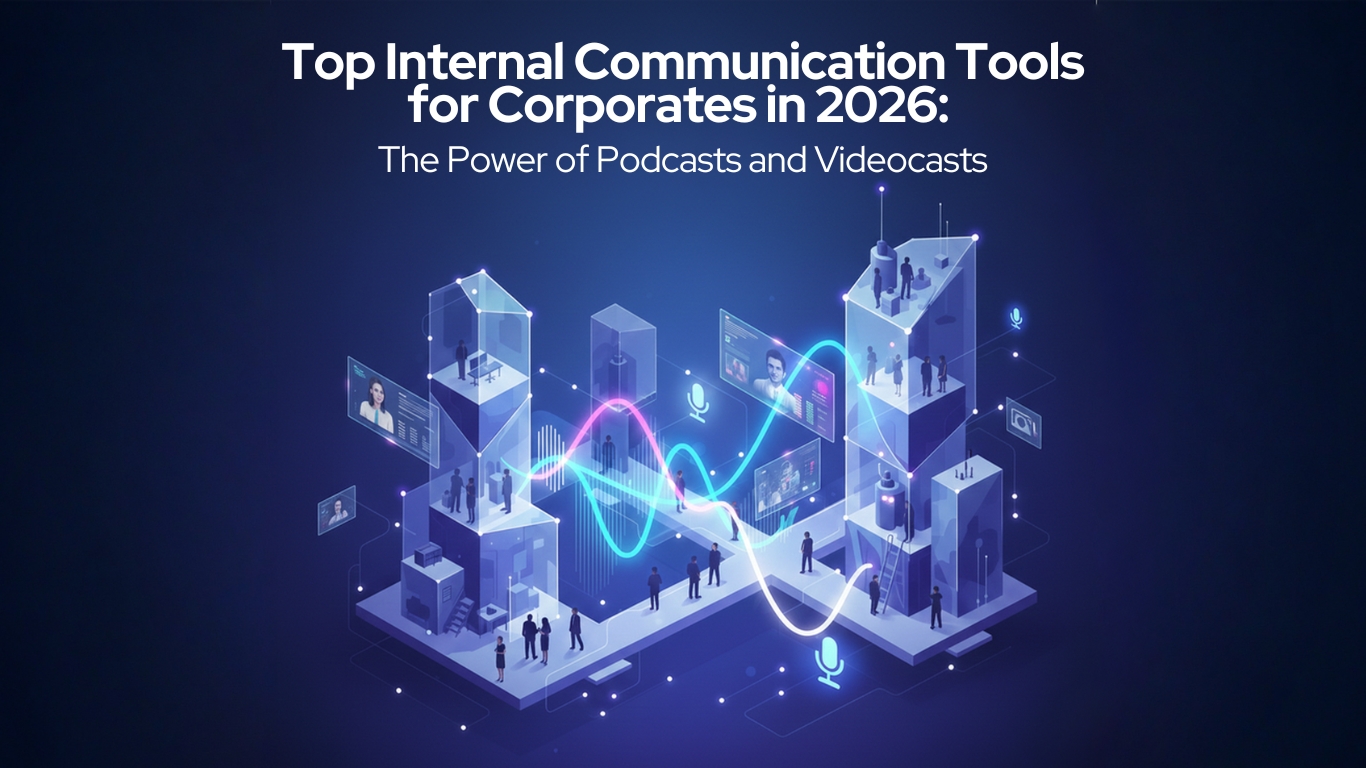
In 2026, internal communication is no longer about sending emails or hosting occasional town halls....
READ MORE
In today’s job market, a company’s reputation isn’t just built on what it sells, but how it t...
READ MORE
In today’s fast-changing workplaces, learning can’t be one-size-fits-all. Employees come with d...
READ MORE
Employee expectations have evolved, and so has the way organisations show appreciation. T...
READ MORE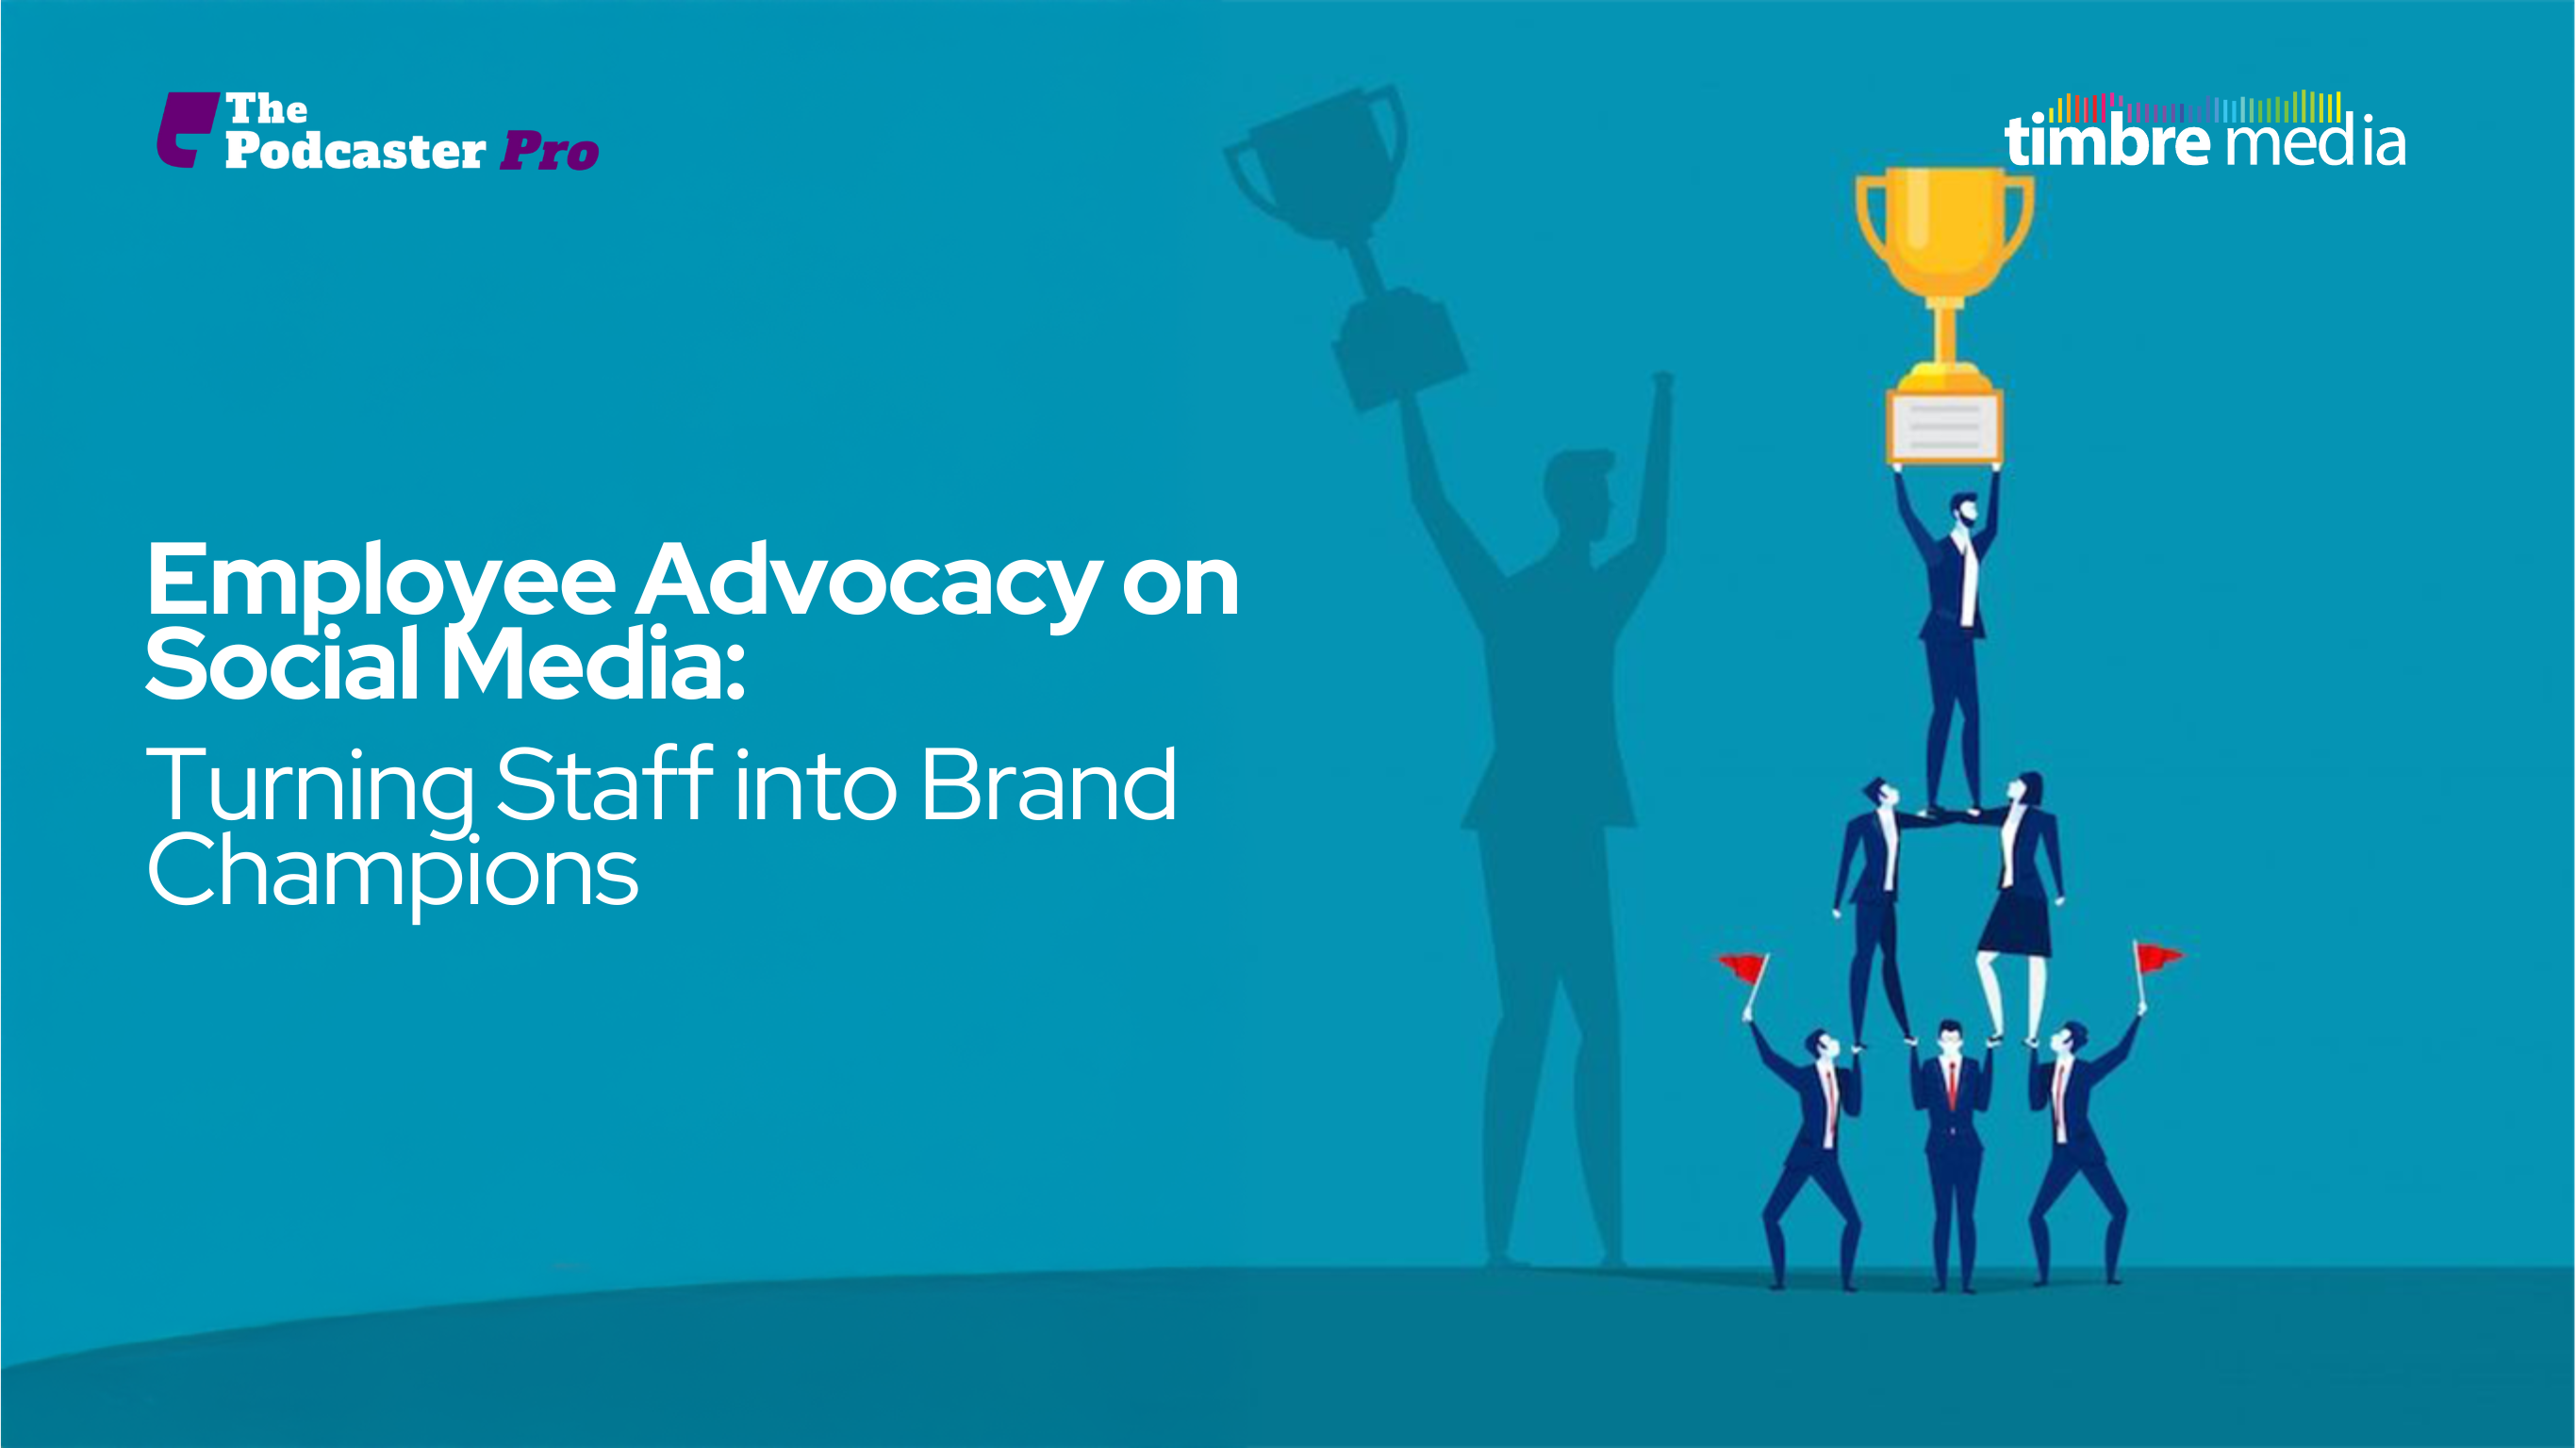
When it comes to brand marketing, employees are often an untapped superpower. They already know you...
READ MORE
In the era of remote work, digital overload, and constantly shifting workplace dynamics, companies ...
READ MORE
In Bangalore’s competitive corporate ecosystem, talent is the most valuable asset. Attracting and...
READ MORE
Effective communication is the backbone of any successful organization. In Bangalore’s fast-paced...
READ MORE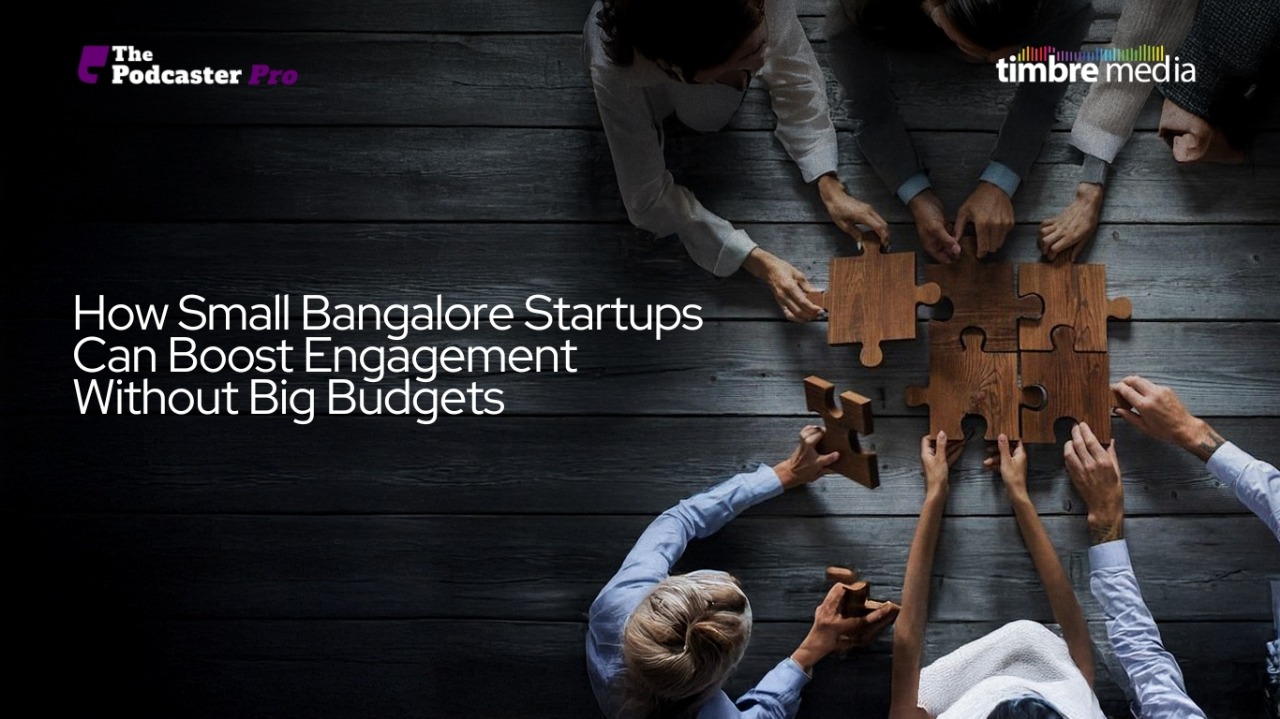
Startups in Bangalore are known for their innovation, agility, and ambitious growth plans. But whil...
READ MORE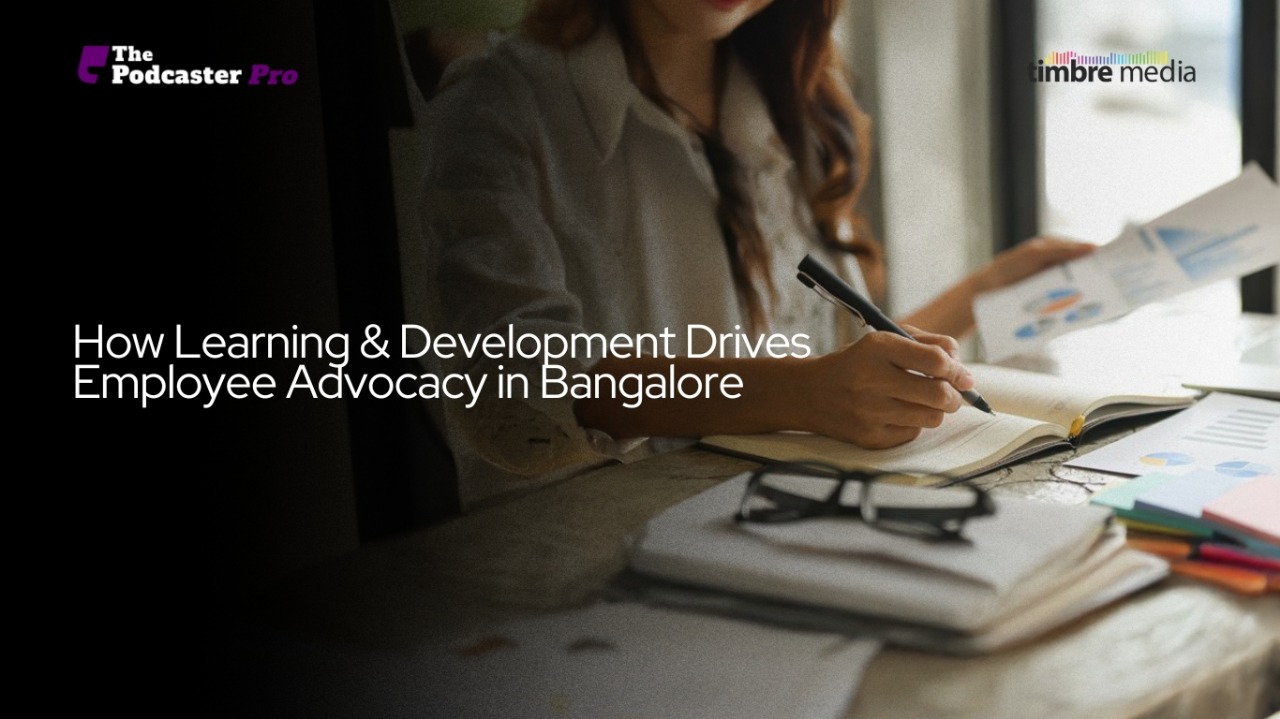
In Bangalore, often called India’s Silicon Valley, companies are investing heavily in people-cent...
READ MORE
In a fast-growing business hub like Bangalore, organizations are constantly looking for ways to ups...
READ MORE
The workplace has changed dramatically in recent years, and so has the way we welcome new hires. Wi...
READ MORE
Employee induction is one of the most important stages in an employee’s journey. The way an organ...
READ MORE
In the fast-paced startup ecosystem of Bangalore, building a motivated and committed workforce is c...
READ MORE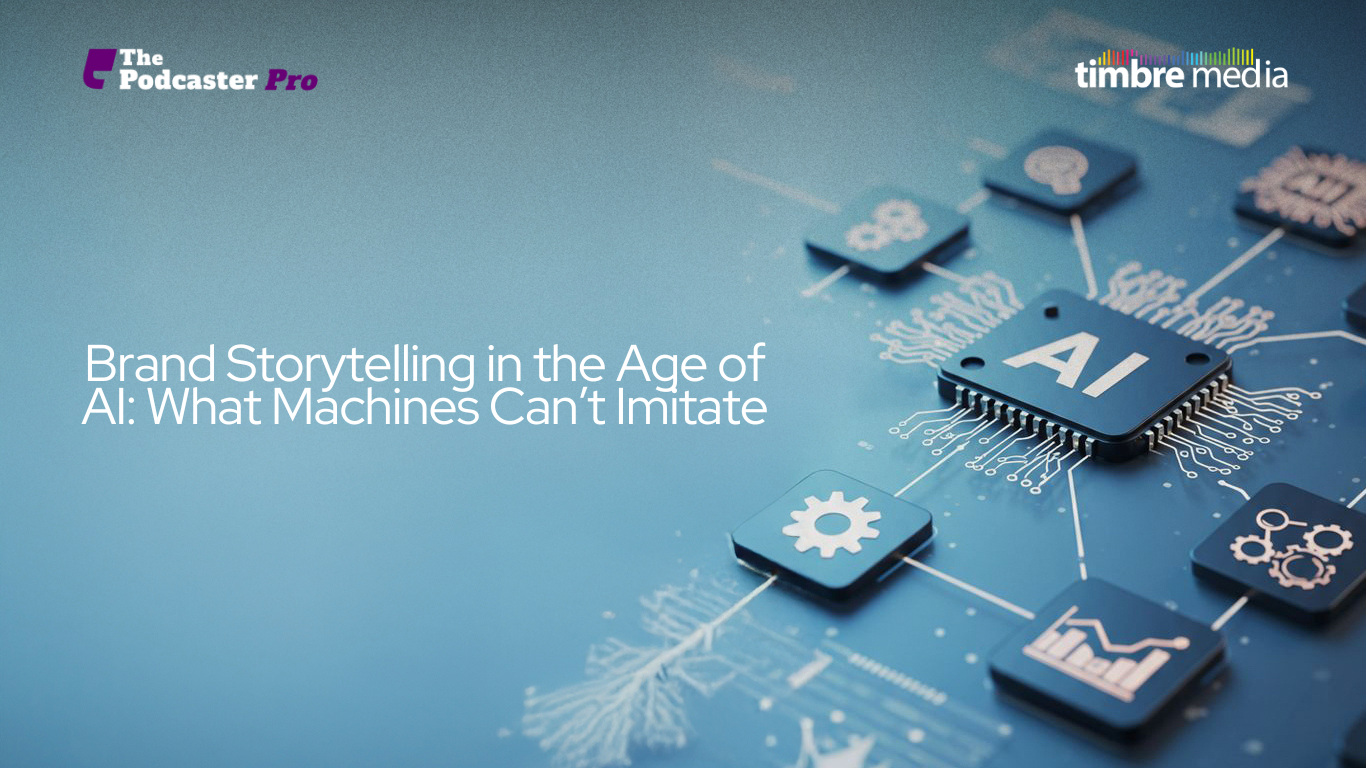
Artificial Intelligence has transformed the way we create, distribute, and analyse content. From au...
READ MORE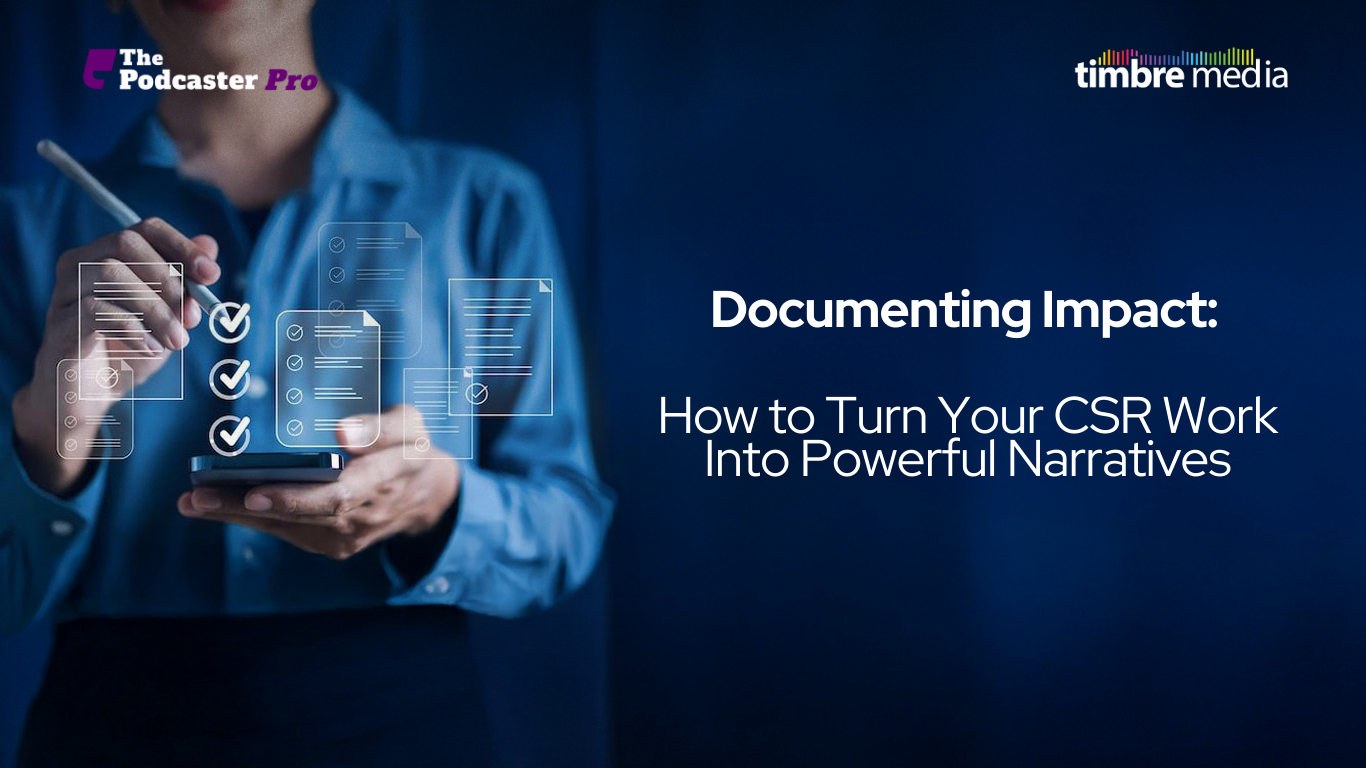
Corporate Social Responsibility (CSR) is more than just a legal obligation or a line in an annual r...
READ MORE
In a crowded market, leaders and brands are constantly seeking ways to stand out. Thought leadershi...
READ MORE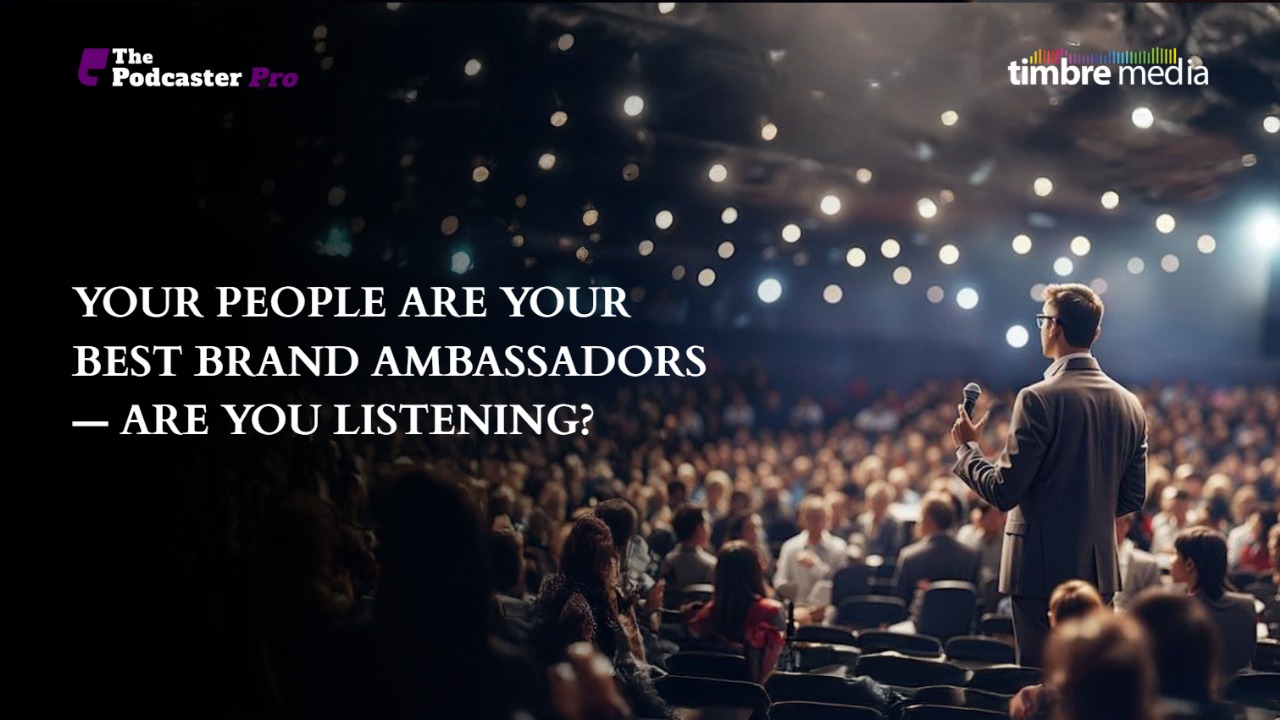
When you think of brand ambassadors, you might picture celebrities in glossy ad campaigns or influe...
READ MORE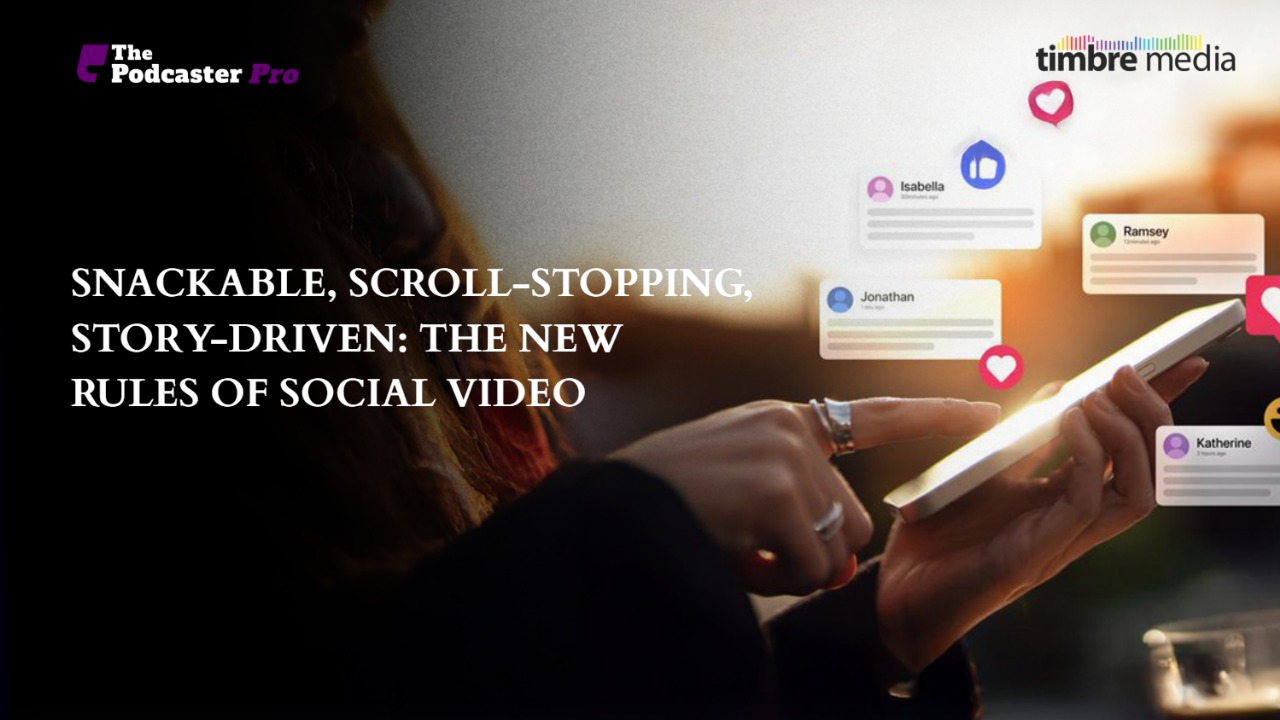
Social media has changed how we consume video. Gone are the days when audiences had the patience fo...
READ MORE
In today’s talent market, it’s not enough for companies to simply have a good product or servic...
READ MORE
The future of content isn’t louder, it’s smarter.It’s not about more posts, more clicks, or m...
READ MORE
Think about your brand’s latest video, podcast, or internal message.Now imagine stripping away th...
READ MORE
In a hyperconnected world, going global isn’t optional it’s inevitable. But reaching global aud...
READ MORE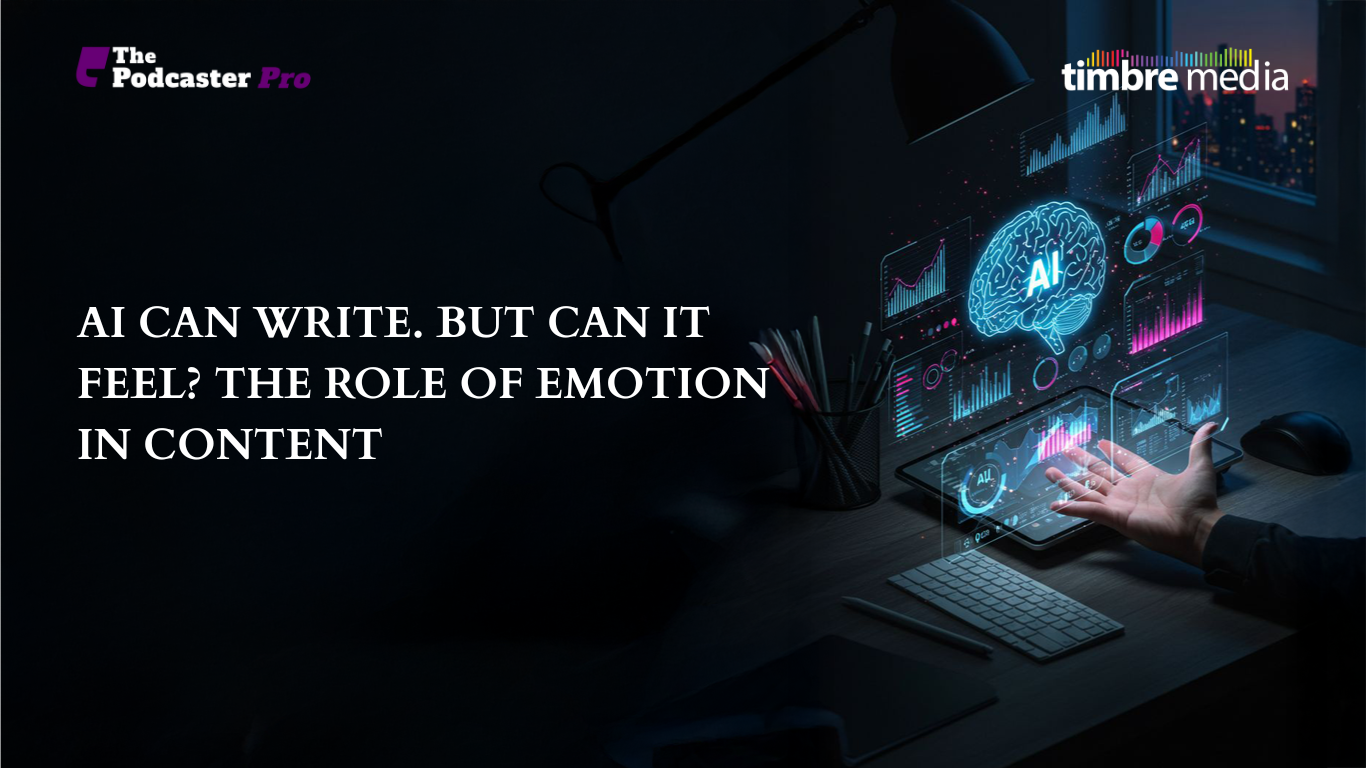
Artificial Intelligence can write copy in seconds.It can summarize reports, generate blogs, even mi...
READ MORE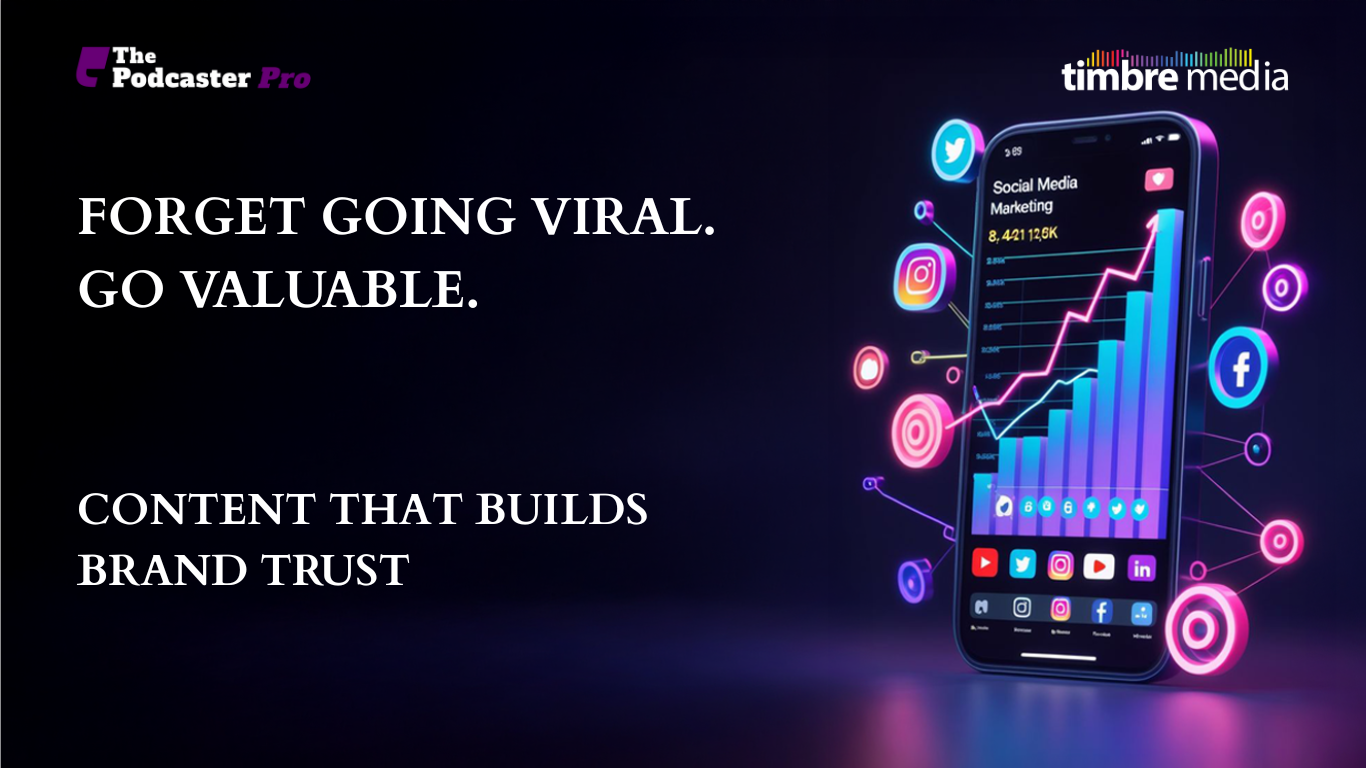
In a world obsessed with likes, shares, and going viral, it’s easy to forget what content is real...
READ MORE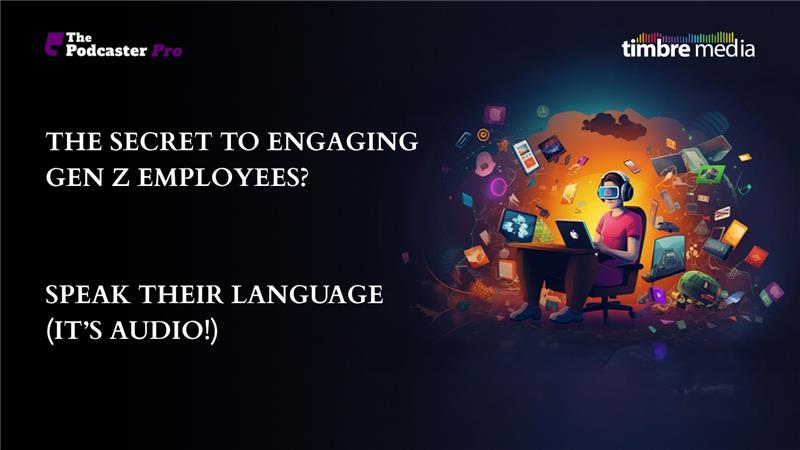
Gen Z doesn’t read memos. They stream them.They swipe, scroll, skip and most importantly, lis...
READ MORE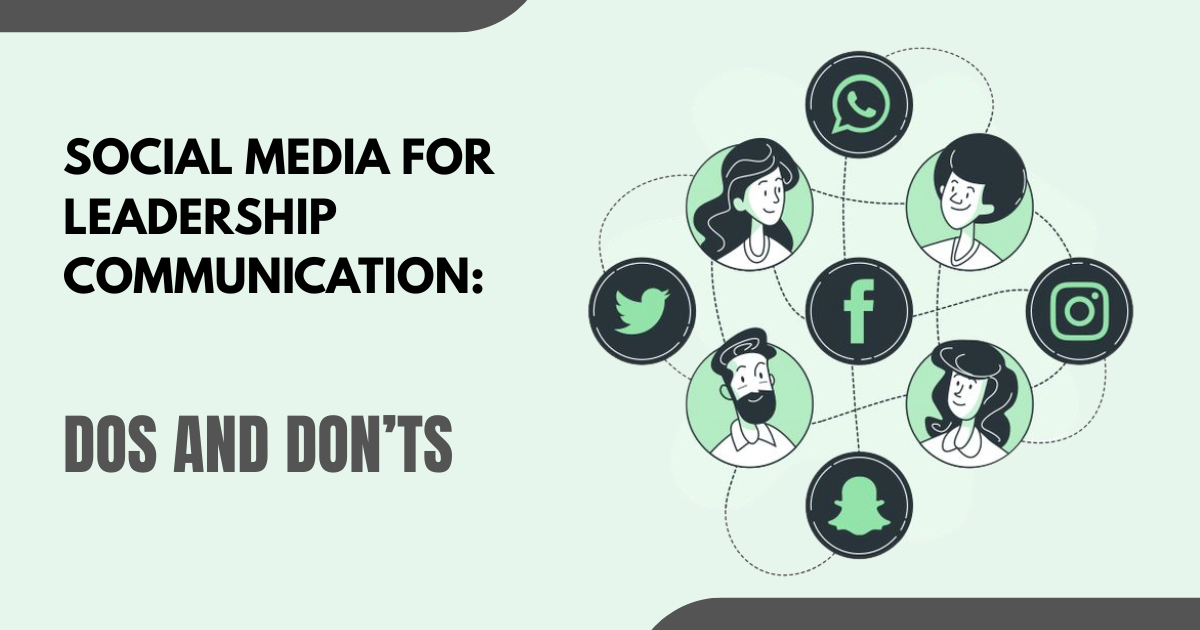
In today’s digital-first world, the way leaders communicate has shifted dramatically. What once t...
READ MORE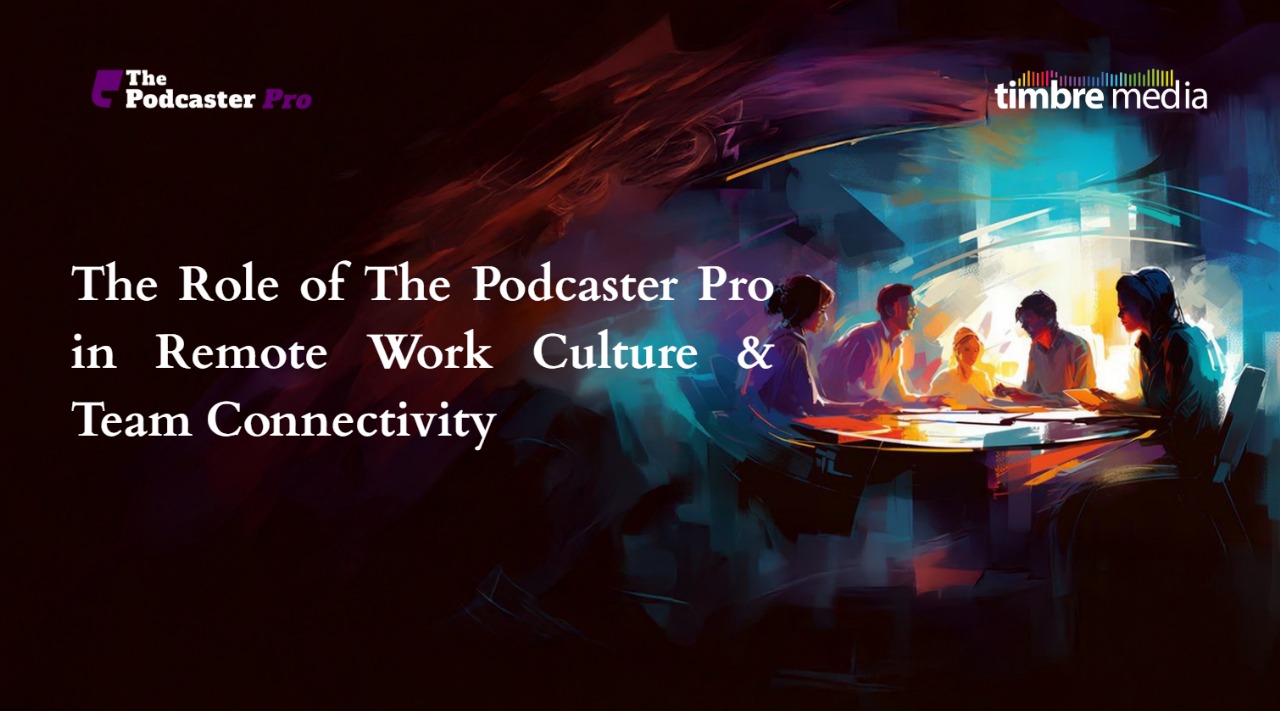
Remote work has become the norm, and keeping teams connected is more important than ever. Platforms...
READ MORE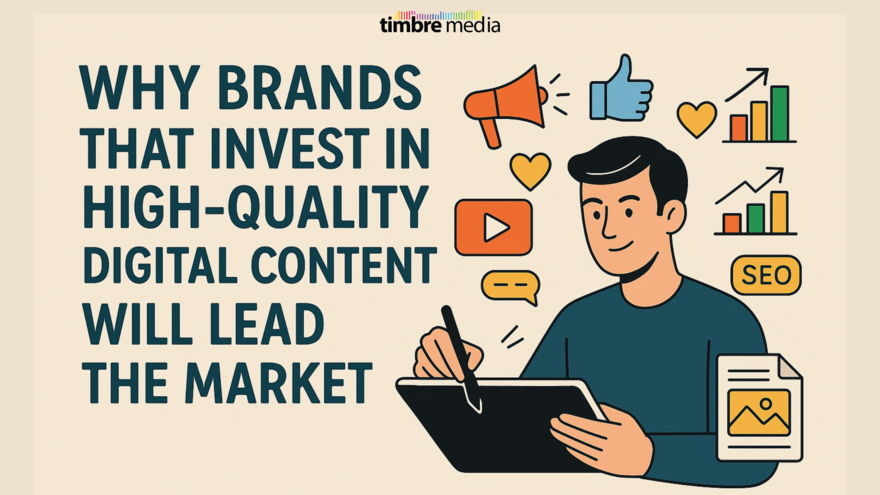
In today’s hyper-connected world, attention is currency – and content is the vehicle ...
READ MORE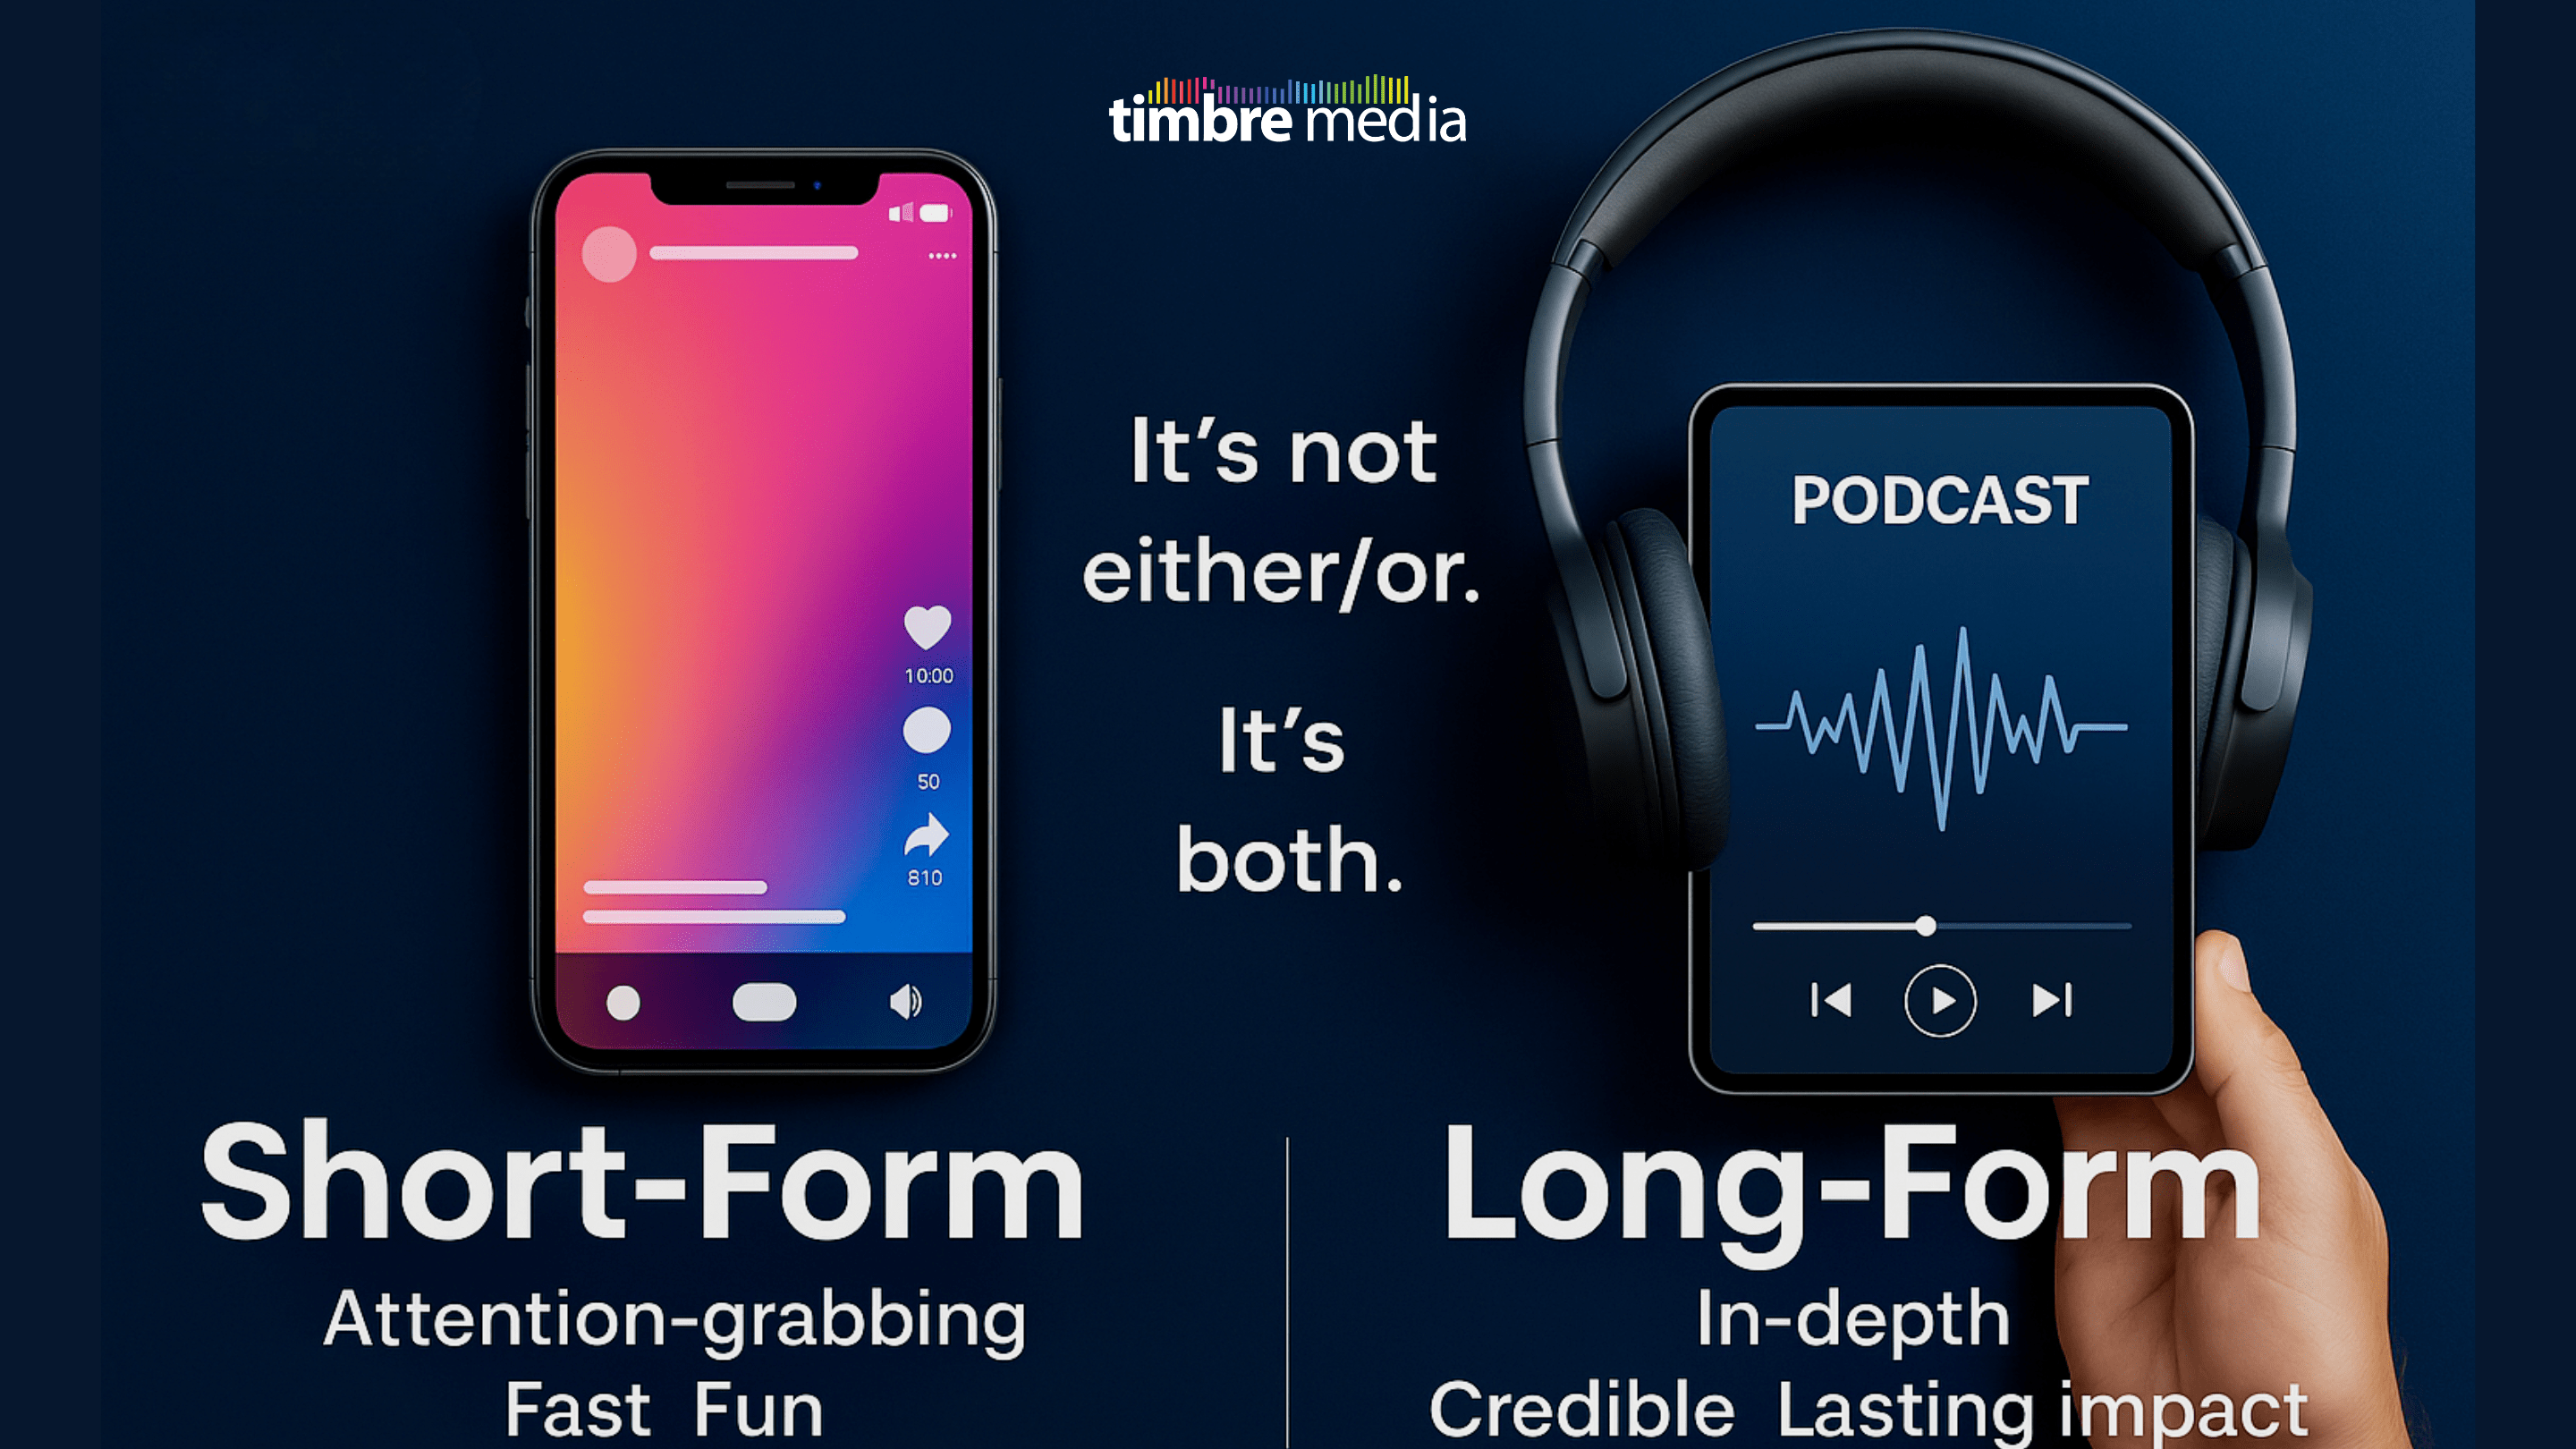
In an age where attention spans are shrinking and content is everywhere, standing out requires more...
READ MORE
Internal communication has long relied on traditional methods like emails and newsletters. However,...
READ MORE
With the digital world evolving at lightning speed, executives can no longer rely on traditional br...
READ MORE
In today’s corporate environment, collaboration across departments is essential for innovation, e...
READ MORE
The Problem: Digital Fatigue in a Hyper-Connected WorldIn recent years, digital communication h...
READ MORE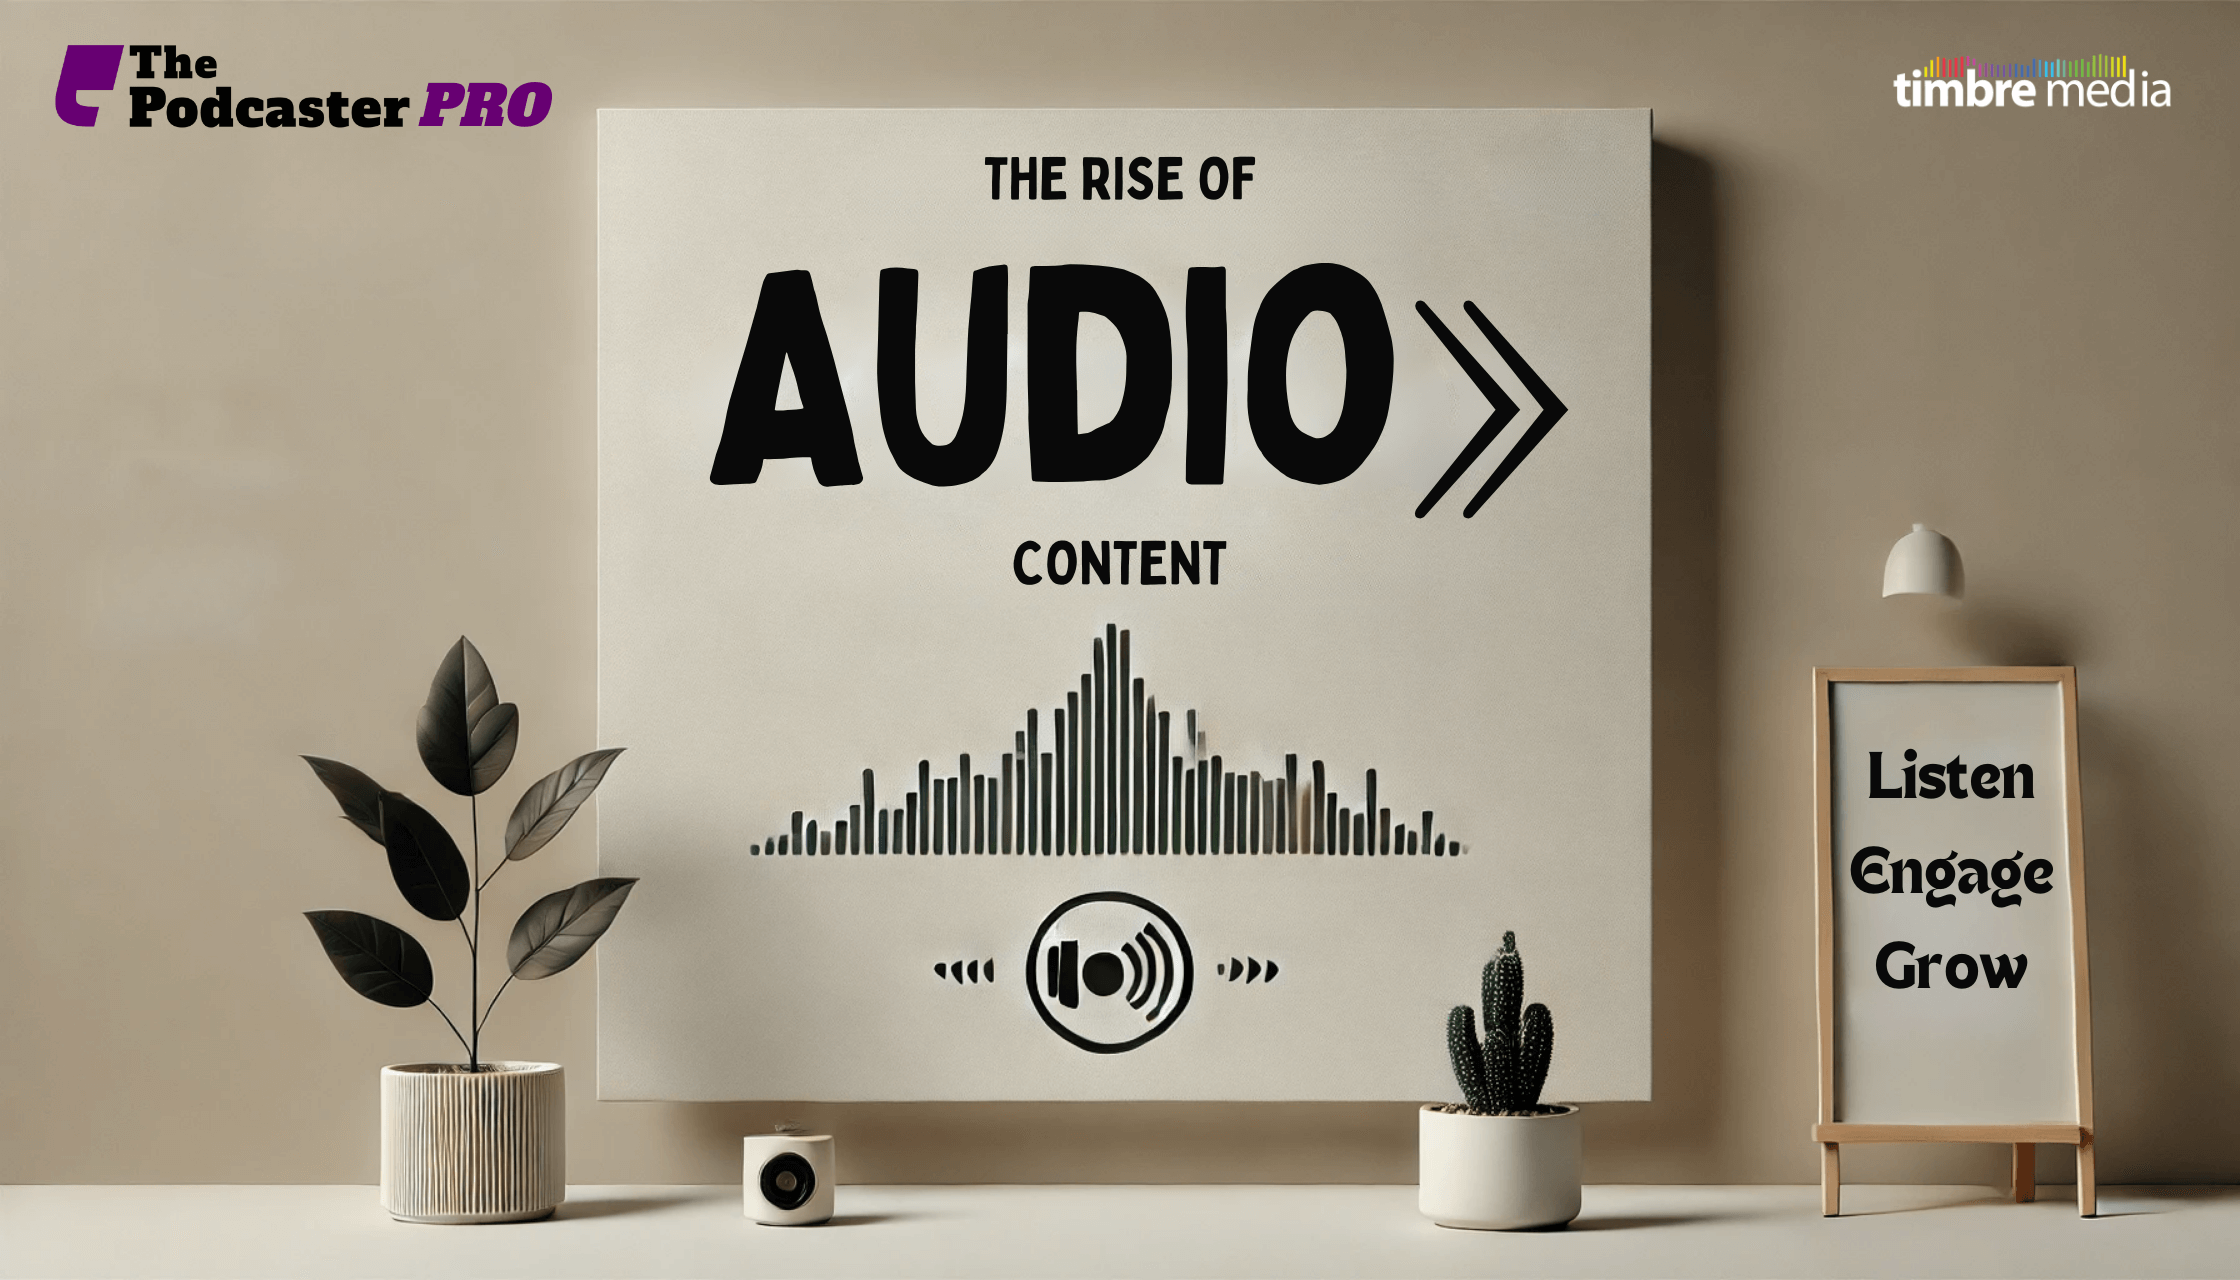
In today’s fast-paced digital world, content consumption habits are evolving rapidly. Among the m...
READ MORE
In today’s hybrid work world, understanding how employees feel isn’t just a nice-to-have—it�...
READ MORE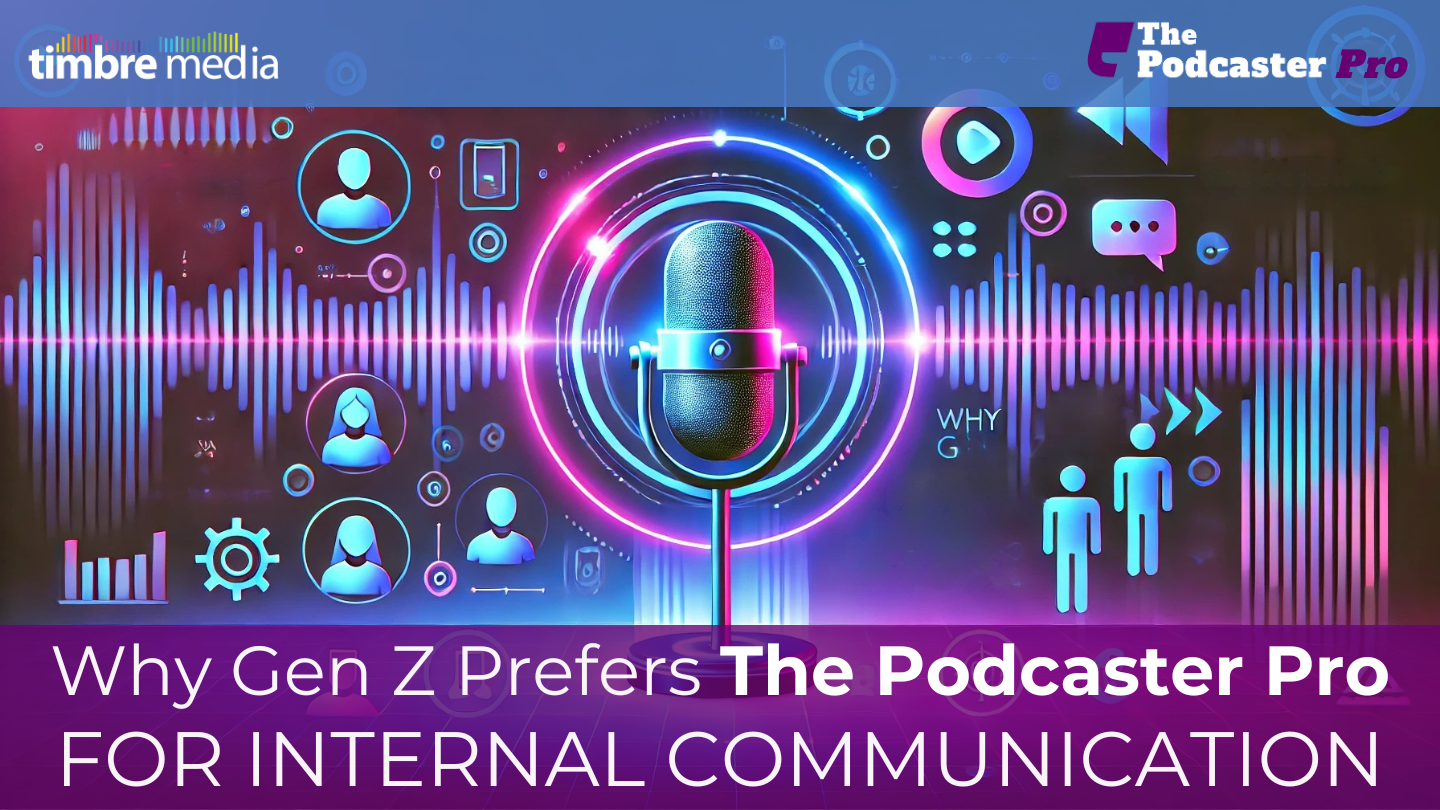
Internal communication tools have evolved significantly, and The Podcaster Pro is emerging as a fav...
READ MORE
When you hear “Binge-worthy content” you may think of Netflix marathons or that podcast you can...
READ MORE
It's a strategic necessity in the contemporary workplace, more than just a perk. Presently, workers...
READ MORE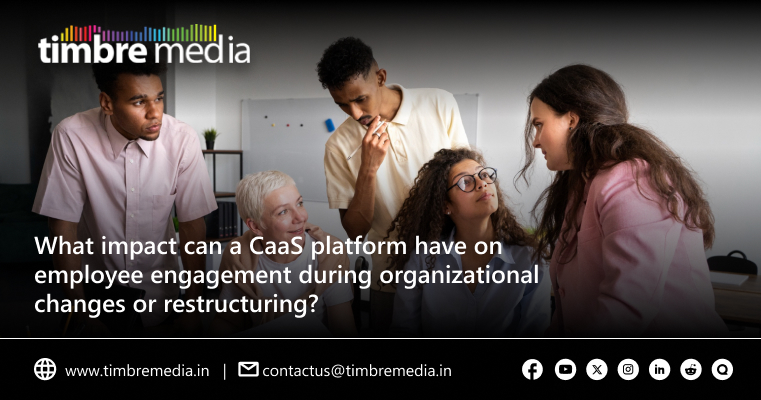
Organizational changes and restructuring can be challenging for employees, leading to uncertainty a...
READ MORE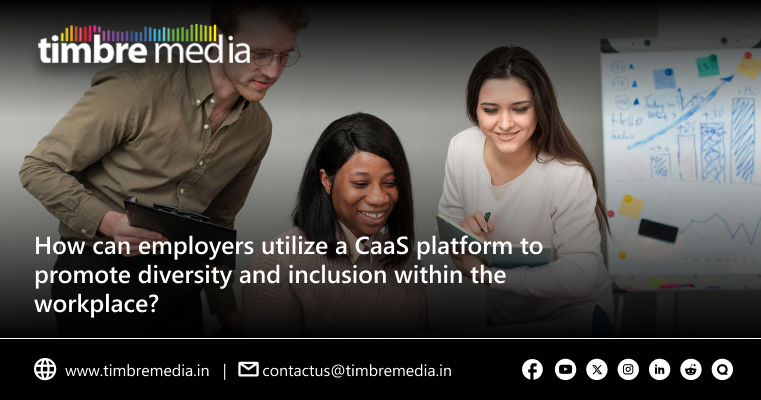
In today’s fast-changing work environments, diversity and inclusion (D&I) are no longer catch...
READ MORE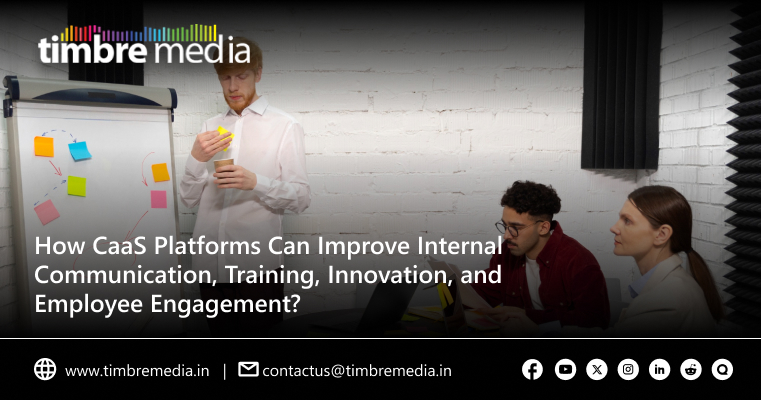
The significance of effective internal communication, continuous training, innovation and employee ...
READ MORE
Did you know that the average employee spends only 4.5 hours per day on actual work? (Source: HBR)....
READ MORE
The Podcaster Pro is a platform that transforms how businesses communicate with their staff. This t...
READ MORE
Fostering a solid workplace culture and ensuring employee contentment have become more significant ...
READ MORE
What is a Netflix-style SaaS product?A Netflix-style SaaS (Software as a Service) product is a ...
READ MORE
Imagine trying to direct a team in the current fast-paced, remotely operated work environment. When...
READ MORE
In the current job marketplace, it is impossible to overestimate the importance of effectual commun...
READ MORE
In today's digital landscape, videocasts and podcasts have emerged as powerful tools for driving cu...
READ MORE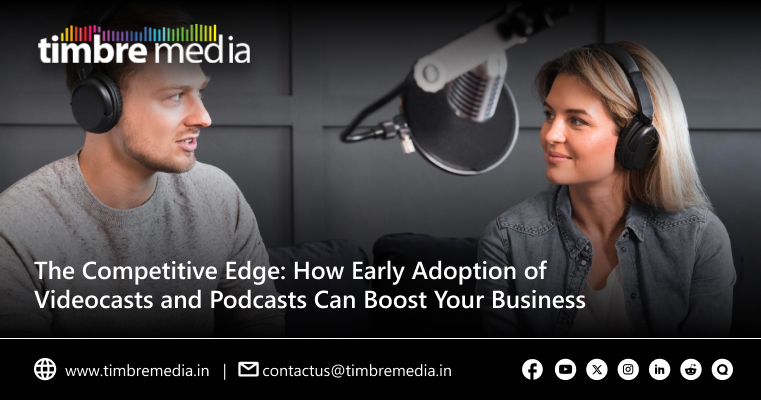
Being ahead of the competition is vital for business in today’s digital era. One way to stay comp...
READ MORE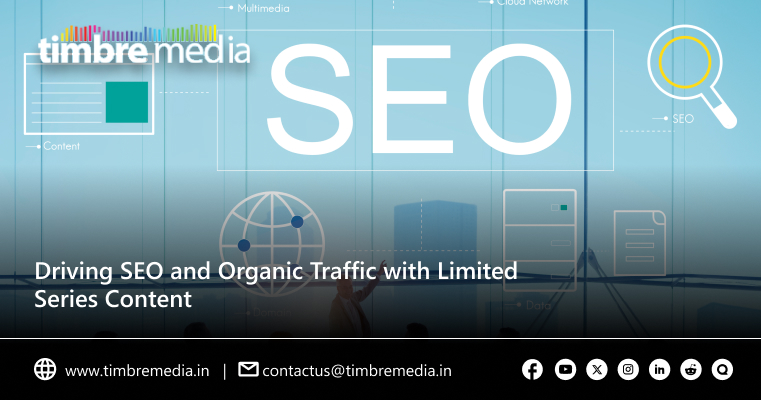
Designing limited series content is indeed the best thing that can attract more SEO and organic tra...
READ MORE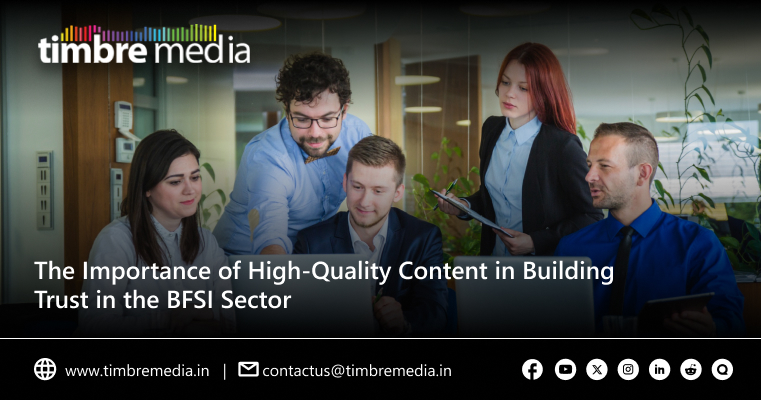
In In the current digital era where information is easily accessible and competition is fierce, the...
READ MORE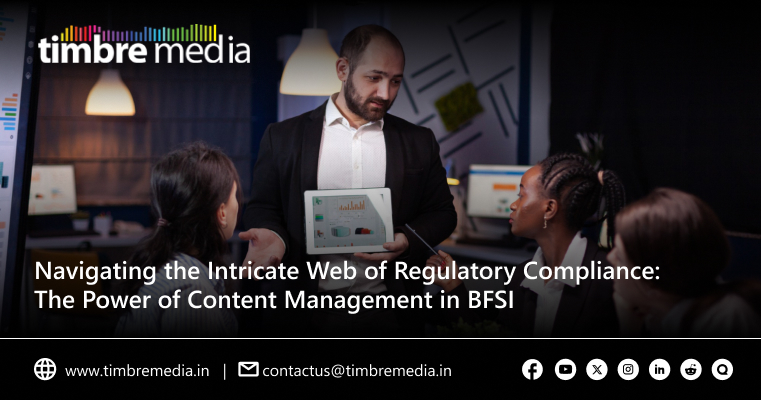
To be in compliance, the BFSI sector has to strictly follow the rules. Knowledgeable employees are ...
READ MORE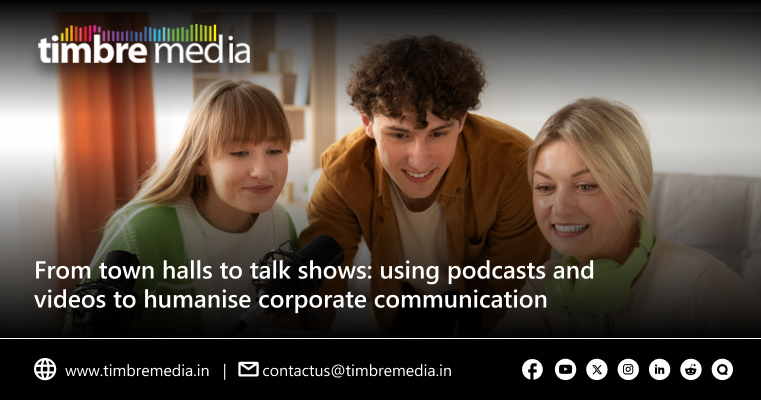
In the fast-paced digital age, traditional corporate town halls are becoming outdated. To cope with...
READ MORE
As it is said by Carrie Latet- "Communication is at the heart of healthcare." In the end, it's abou...
READ MORE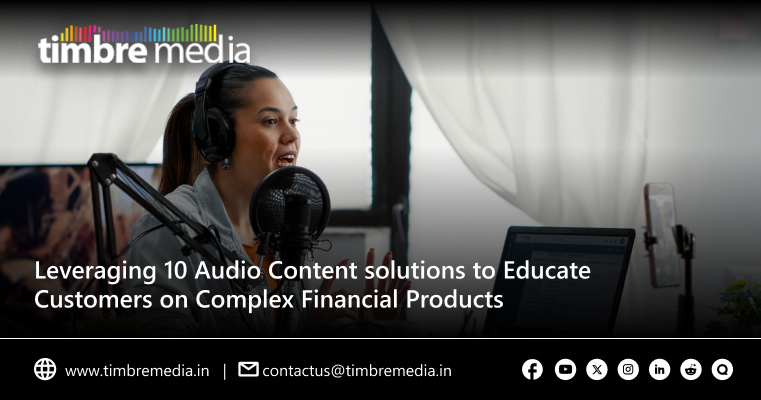
Ever felt overwhelmed by the jargon and complexity of financial products like mutual funds, ETFs, o...
READ MORE
Ever wondered how podcasts and videos can make your work life more Interactive & exciting?W...
READ MORE
A business that was founded decades ago could, back in the day, maintain a fairly consistent busine...
READ MORE
In today’s fast-paced corporate world, employee training is no longer just a checkbox activity. E...
READ MORE
In order to make a healthy work environment and to make the business successful, effective communic...
READ MORE
Podcasts have become the storytelling maestros of the ever-changing digital content world, enthrall...
READ MORE
Educational Content:Podcasts offer a platform to deliver educational content on various topics...
READ MORE
“Podcasting is a medium that allows anyone to share their voice and their message with the world,...
READ MORE
In today’s rapidly evolving landscape of corporate communications, companies are constantly looki...
READ MORE
Corporate communication is managing the flow of information and messages within the organisation. I...
READ MORE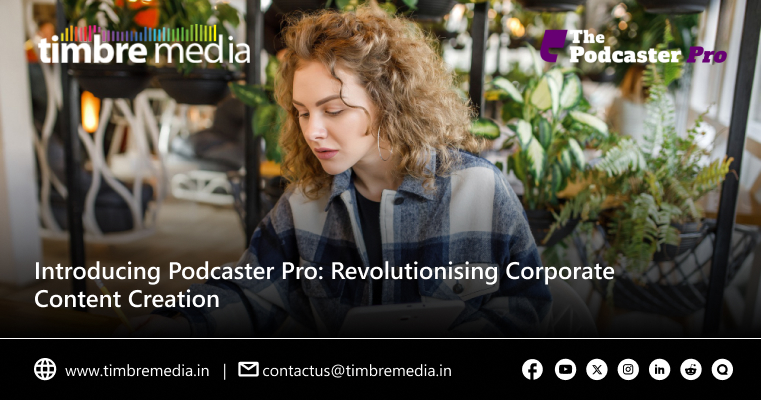
In the constantly changing sphere of corporate communication and marketing, companies are always in...
READ MORE
Organizations in the ever-changing world of corporate culture must prioritize effective communicati...
READ MORE
Podcasts are one of the best ways to reach out to a wide range of potential customers for a brand. ...
READ MORE
In today's competitive business landscape, cultivating a compassionate corporate culture has become...
READ MORE
In the rapidly evolving landscape of workplace communication, companies are looking for innovative ...
READ MORE
Every year, with newer technologies and trends coming up in the digital world, the expectations of ...
READ MORE
In a world characterised by rapid technological advances, changing social norms, and dynamic market...
READ MORE
Christmas is less than two weeks away now, and the excitement is already filling the air around us!...
READ MORE
In today's world of work, it is crucial to create a link between content and employee engagement. E...
READ MORE
Thanksgiving is approaching us in a couple weeks, and most of us are looking forward to celebrating...
READ MORE
Safeguarding your desires through content and cybersecurity is an essential aspect of our virtual a...
READ MORE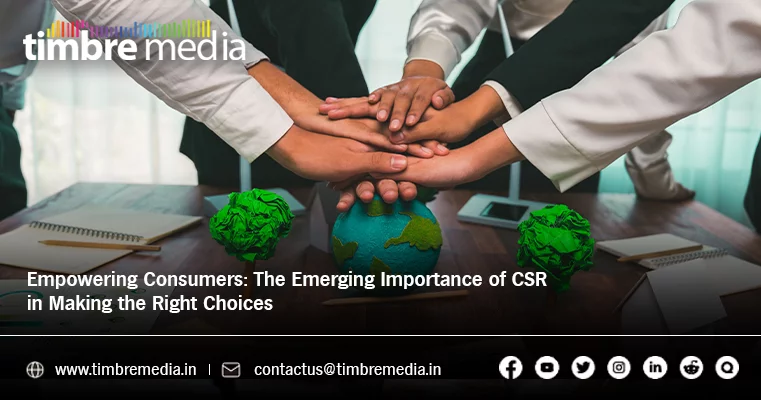
In today's interconnected world, consumers are paying more attention to how their purchases affect ...
READ MORE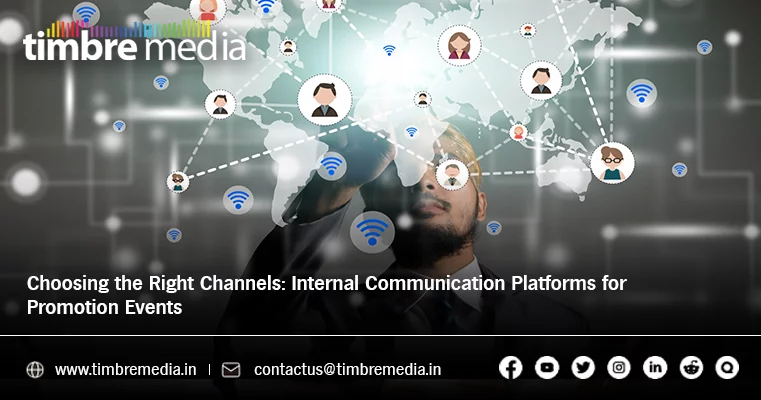
In the fast-paced realm of event promotion, effective communication stands as the key to success. T...
READ MORE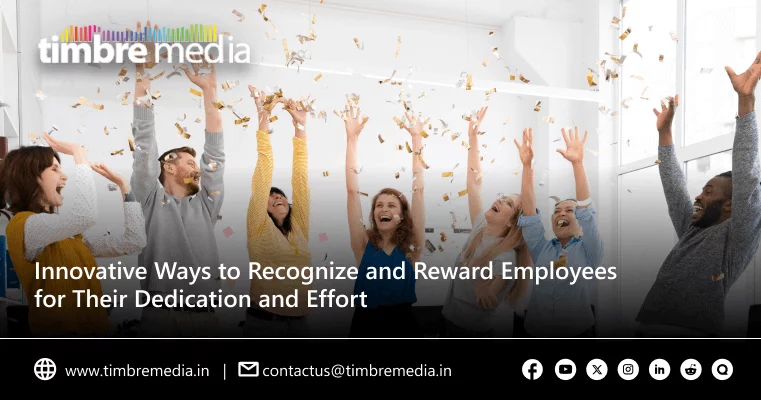
Recognizing and rewarding employees for their commitment and effort is essential to fostering a hea...
READ MORE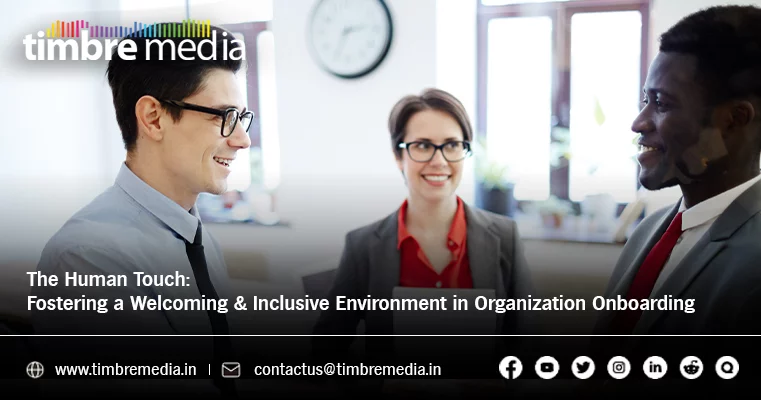
A sense of belonging. We hear this phrase more frequently these days in relation to successful orga...
READ MORE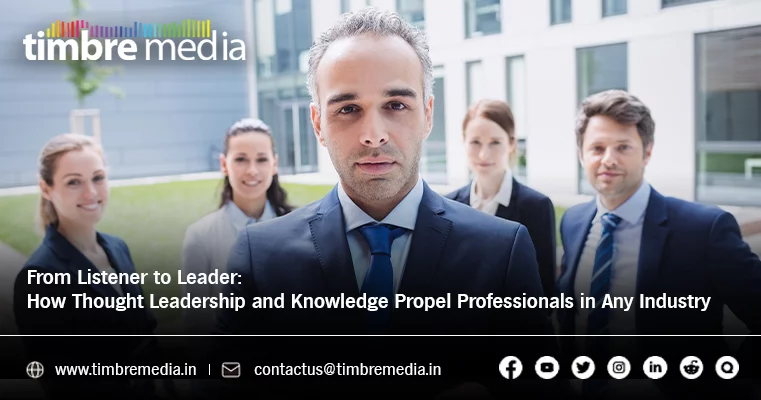
In today's fast-paced world, employees aspire to become leaders in their respective industries. Whi...
READ MORE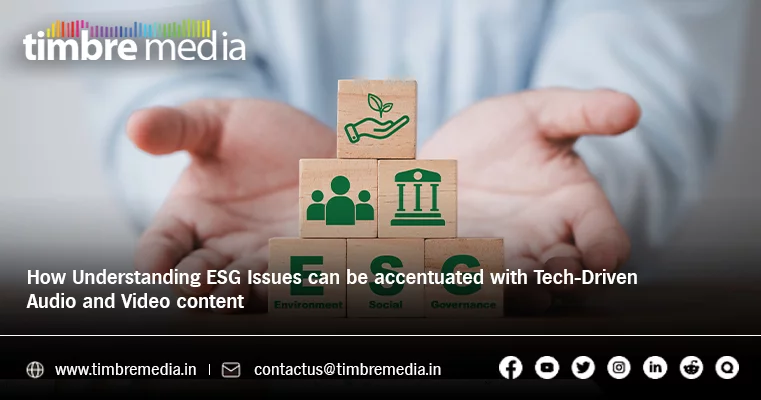
Socially responsible investors assess potential investments using a set of standards for a company'...
READ MORE
In today's digital landscape, businesses face an ongoing challenge: capturing the attention and int...
READ MORE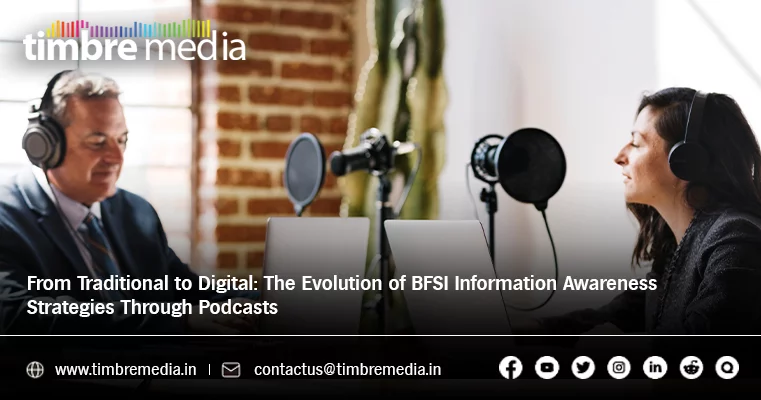
Businesses across all industries are constantly seeking new methods to effectively communicate with...
READ MORE
Storytelling is one of humanity’s oldest and most powerful tools for connection. From ancient cav...
READ MORE
The value of writing in the modern digital era cannot be overemphasized enough. A well-written piec...
READ MORE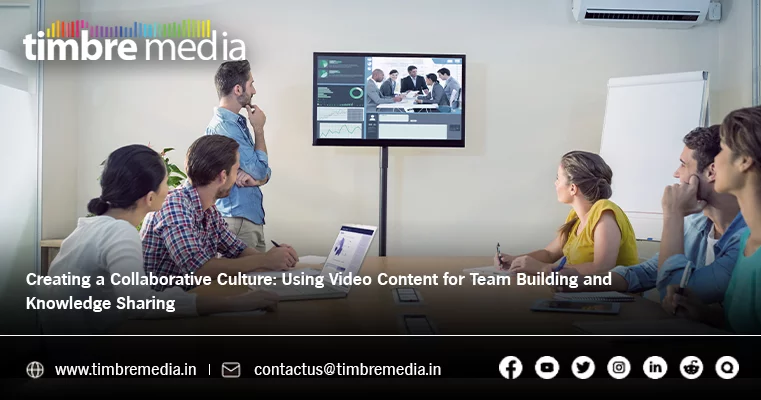
Collaboration is critical to every organization's success. Employees that work effectively together...
READ MORE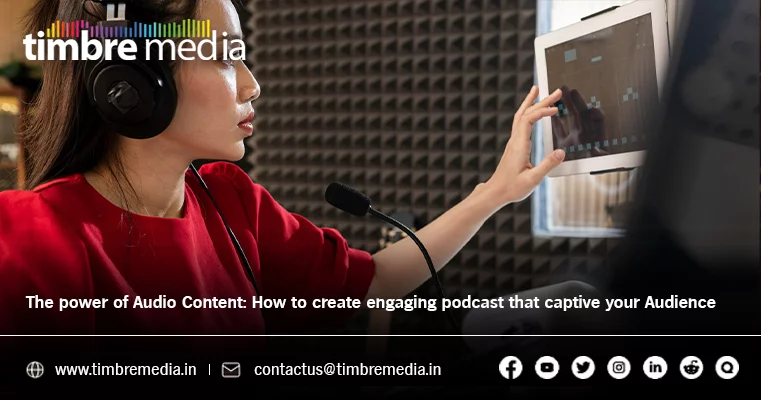
In recent years, audio content has grown in popularity as a communication and entertainment tool. C...
READ MORE
In today’s digital age, content is king, and creating an immersive experience for the user is mor...
READ MORE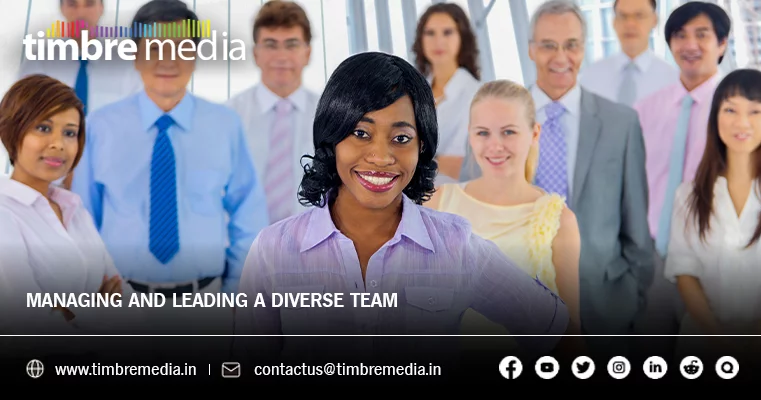
Workplaces today look very different from what they did a few years ago. Teams are no longer made u...
READ MORE
Virtually every emerging mass medium claims it will usher in a new era of revolutionary change. Aft...
READ MORE
In any business, the human resources department is critical. They are in charge of attracting, keep...
READ MORE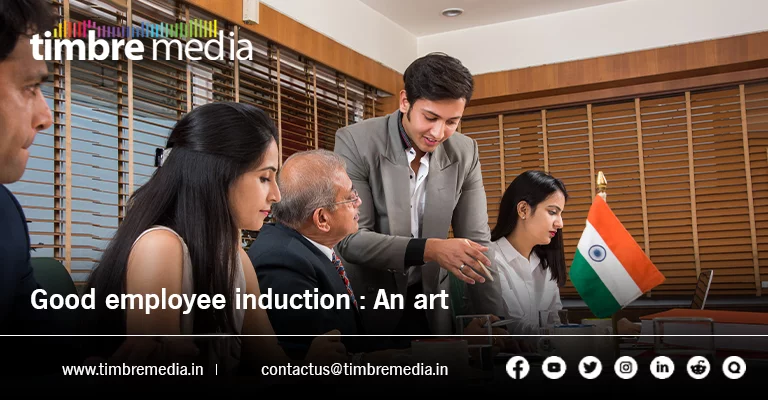
One of those organisational activities that is frequently overlooked and devalued is employee induc...
READ MORE
Rewards & RecognitionThe world we live in is powered by hard workers, smart thinkers and pa...
READ MORE
Blog Content:Keys to Exploring Overseas Audiobook Markets with EaseInternational Audiobook...
READ MORE
If you’re like most companies, you know how hard it is to keep your people motivated and engaged....
READ MORE
In today’s competitive world, companies are not only competing for customers—they are also comp...
READ MORE
The first day at work for any employee feels like a race well won that started on the day they firs...
READ MORE
In today’s workplace, companies are looking for better ways to connect with their teams. Emails a...
READ MORE
Employee induction is one of those corporate processes that is often underrated and undervalued. An...
READ MORE
Have you ever wondered whether it’s better to read a book or listen to it? With audiobooks becomi...
READ MORE
Understanding the world of internal communicationsThe world of internal communication has come ...
READ MORE
L&D, Learning and Development, has become every company or organisation’s top priority in rec...
READ MORE
Does employee engagement still matter?Most companies and organizations world over have tried e...
READ MORE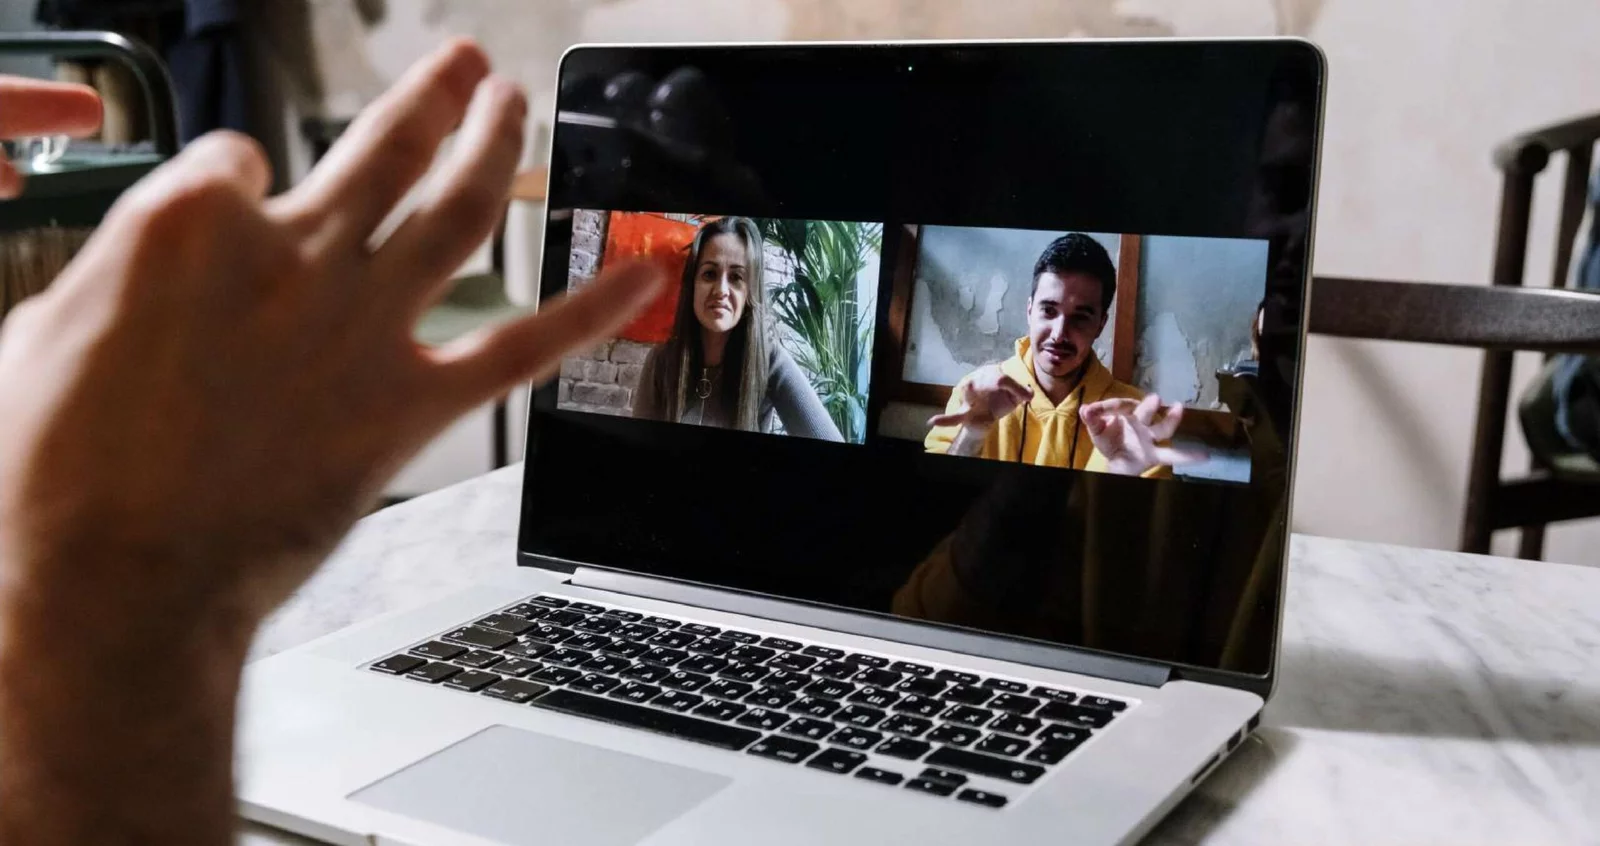
One of the biggest learnings during the pandemic has been to figure how to adapt to the new normal,...
READ MORE
Surely one of the biggest and most widely felt results of the ongoing global pandemic has been the ...
READ MORE
The COVID-19 pandemic threw up a whole lot of unimaginable obstacles. While the world joined hands ...
READ MORE
It’s interesting because employer branding has taken centre stage for many organizations in recen...
READ MORE
8 REASONS WHY YOU SHOULD CONSIDER USING A PODCAST Storytelling is really what makes us ...
READ MORE
The global COVID-19 pandemic brought with it a barrage of risks. Aside from the obvious and pri...
READ MORE
The answer is simple. Podcasting which in its most successful form, offers perfectly blended infota...
READ MORE
Even before the pandemic hit, an email glut post a holiday and work-related phone calls during a we...
READ MORE
In today’s world of endless scrolling, binge-watching, and constant notifications, grabbing someo...
READ MORE
Well begun is half done. Nowhere is this more apt than in employee induction. Effective employee on...
READ MORE
As the old saying goes, ‘Prevention is better than the cure.” The same holds true even in the c...
READ MORE
As the world changes, our perspective about it changes too. At Timbre Media, our clients are now no...
READ MORE
Ease of doing business means something different these days. It means that post Covid -19, the worl...
READ MORE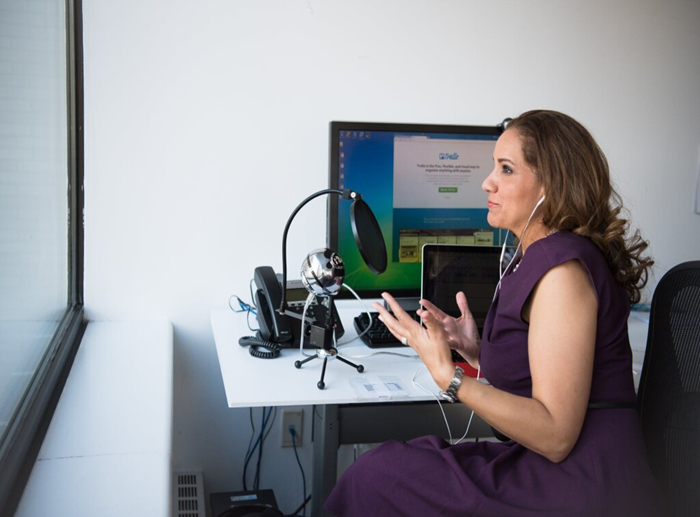
Corporate podcasts are a great way to connect with the people in your organization across distances...
READ MORE
One of the biggest challenges for any company is keeping employees interested enough to come into w...
READ MORE
Well, yes. Let’s start with the ‘why’ of listening to podcasts, and hopefully, that will conv...
READ MORE
Timbre Media’s content creation addresses multiple questions raised by corporate clients. Recentl...
READ MORE
Diverse teams are great fun to work in, with refreshing new perspectives but also with their own un...
READ MORE
Who would have thought that one day the customer would be dethroned from his long reign as king? Ma...
READ MORETimbre Media has been a trusted partner of world-class brands for 10+ years.